Editing Outdoor Family Photos
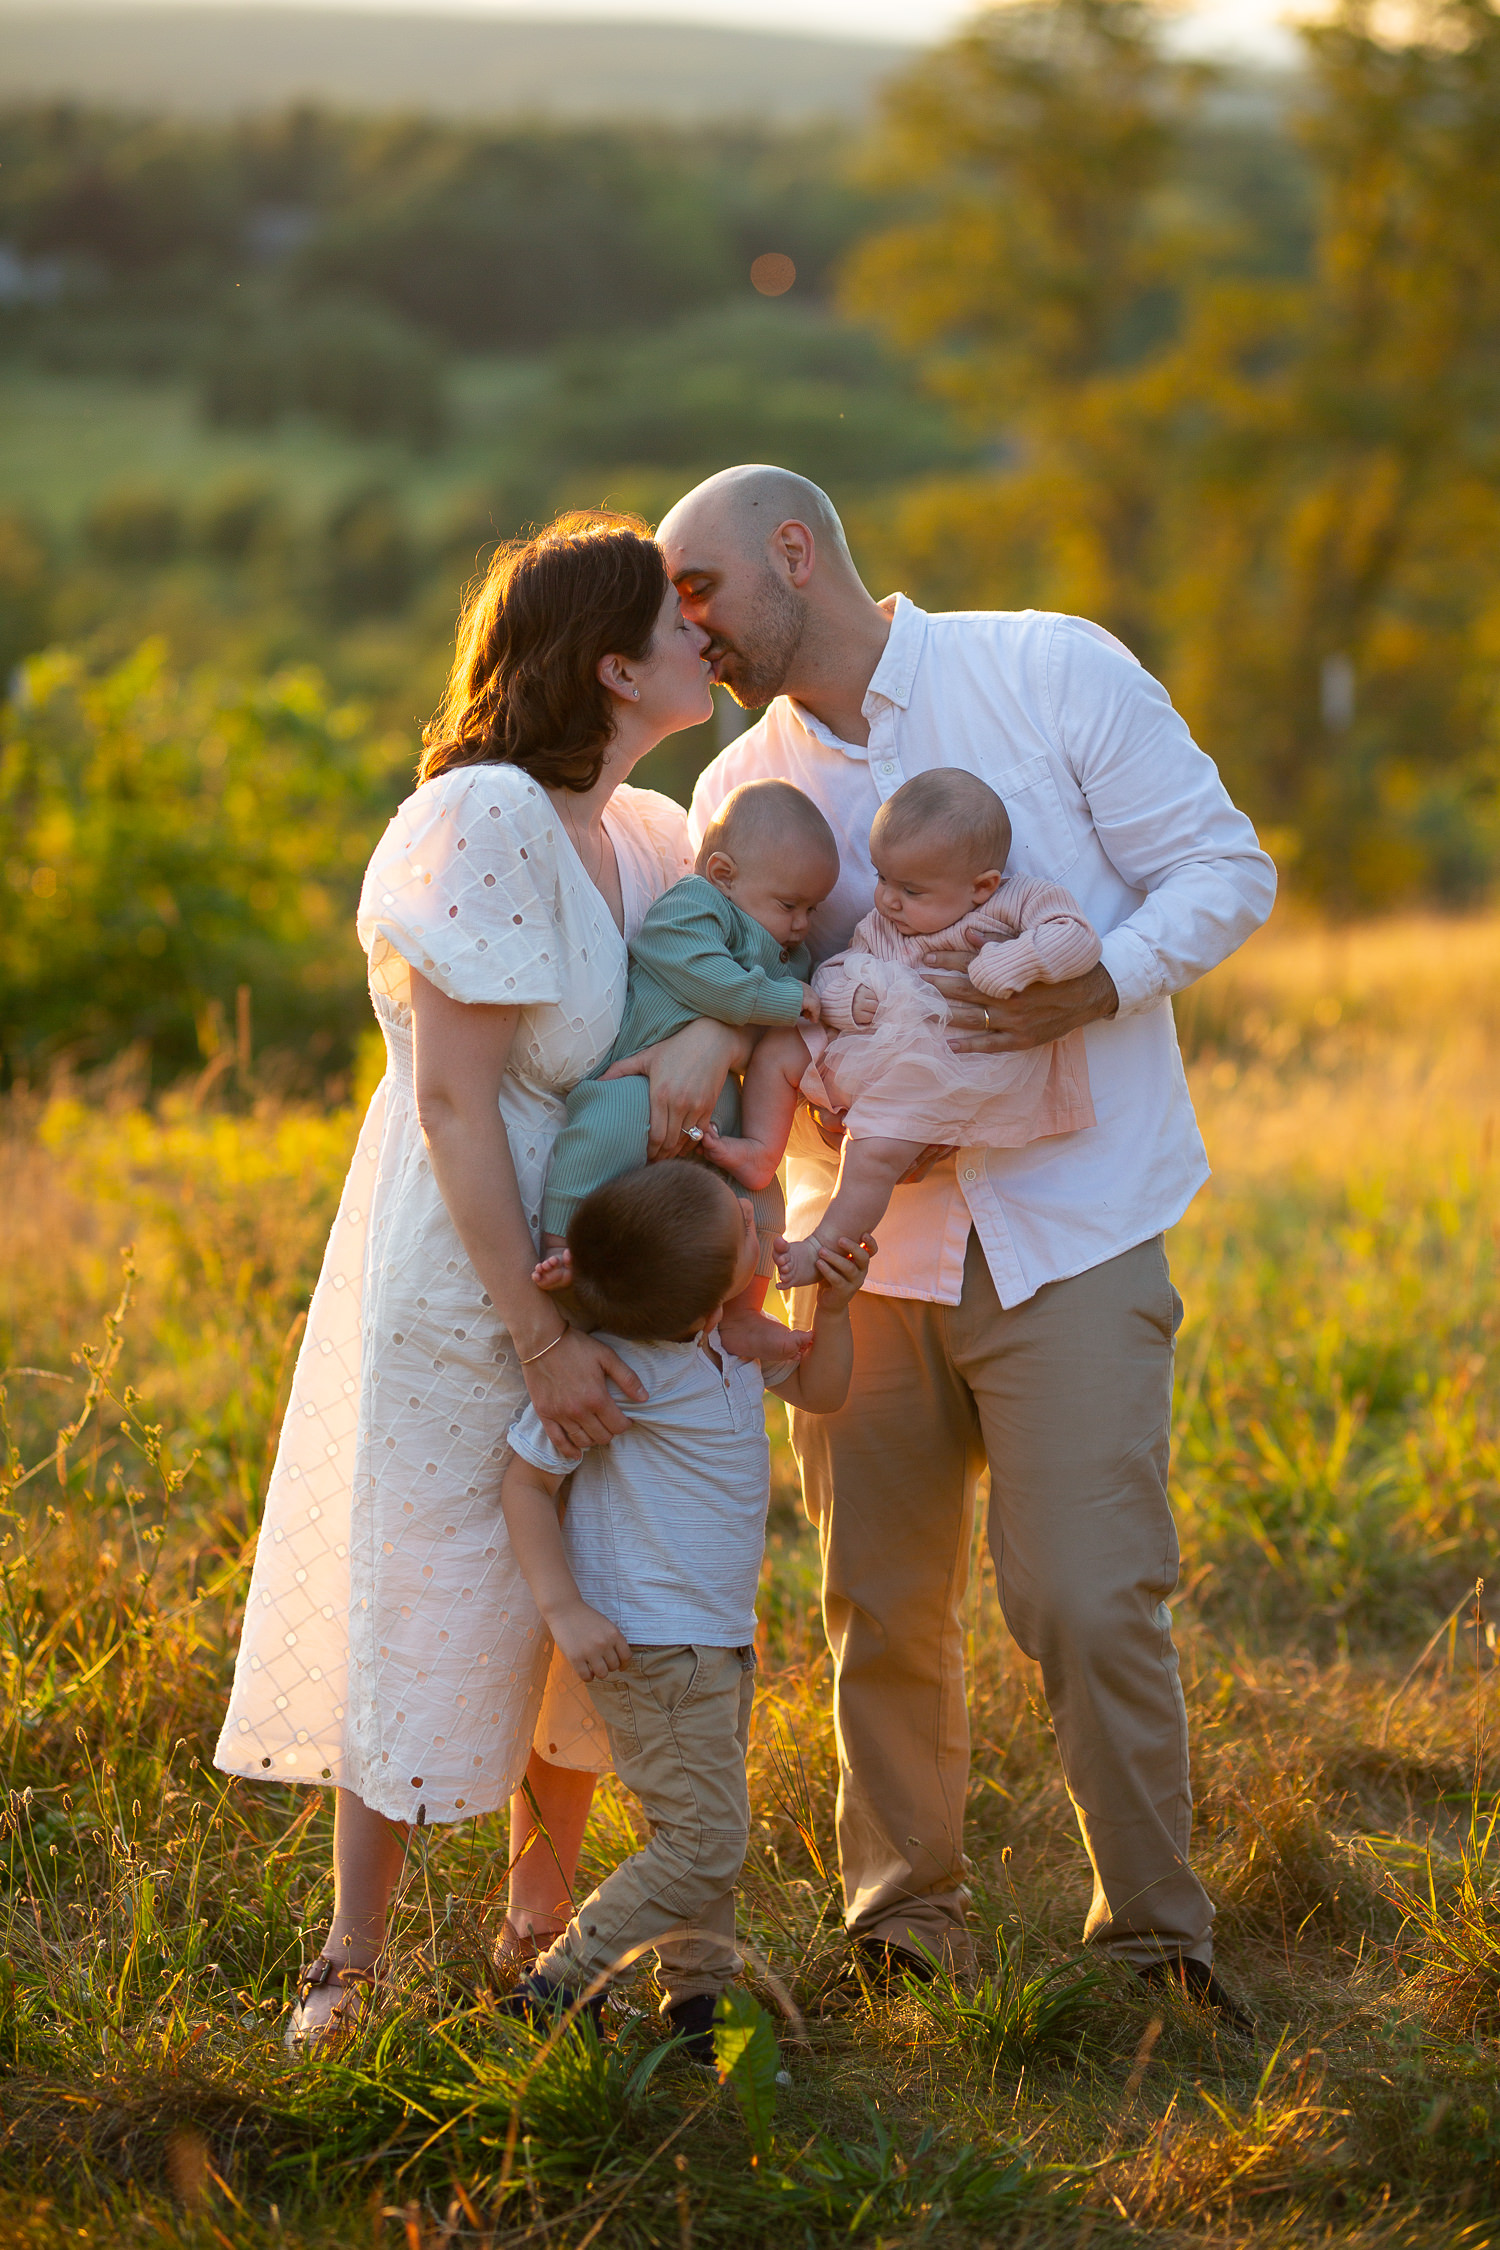
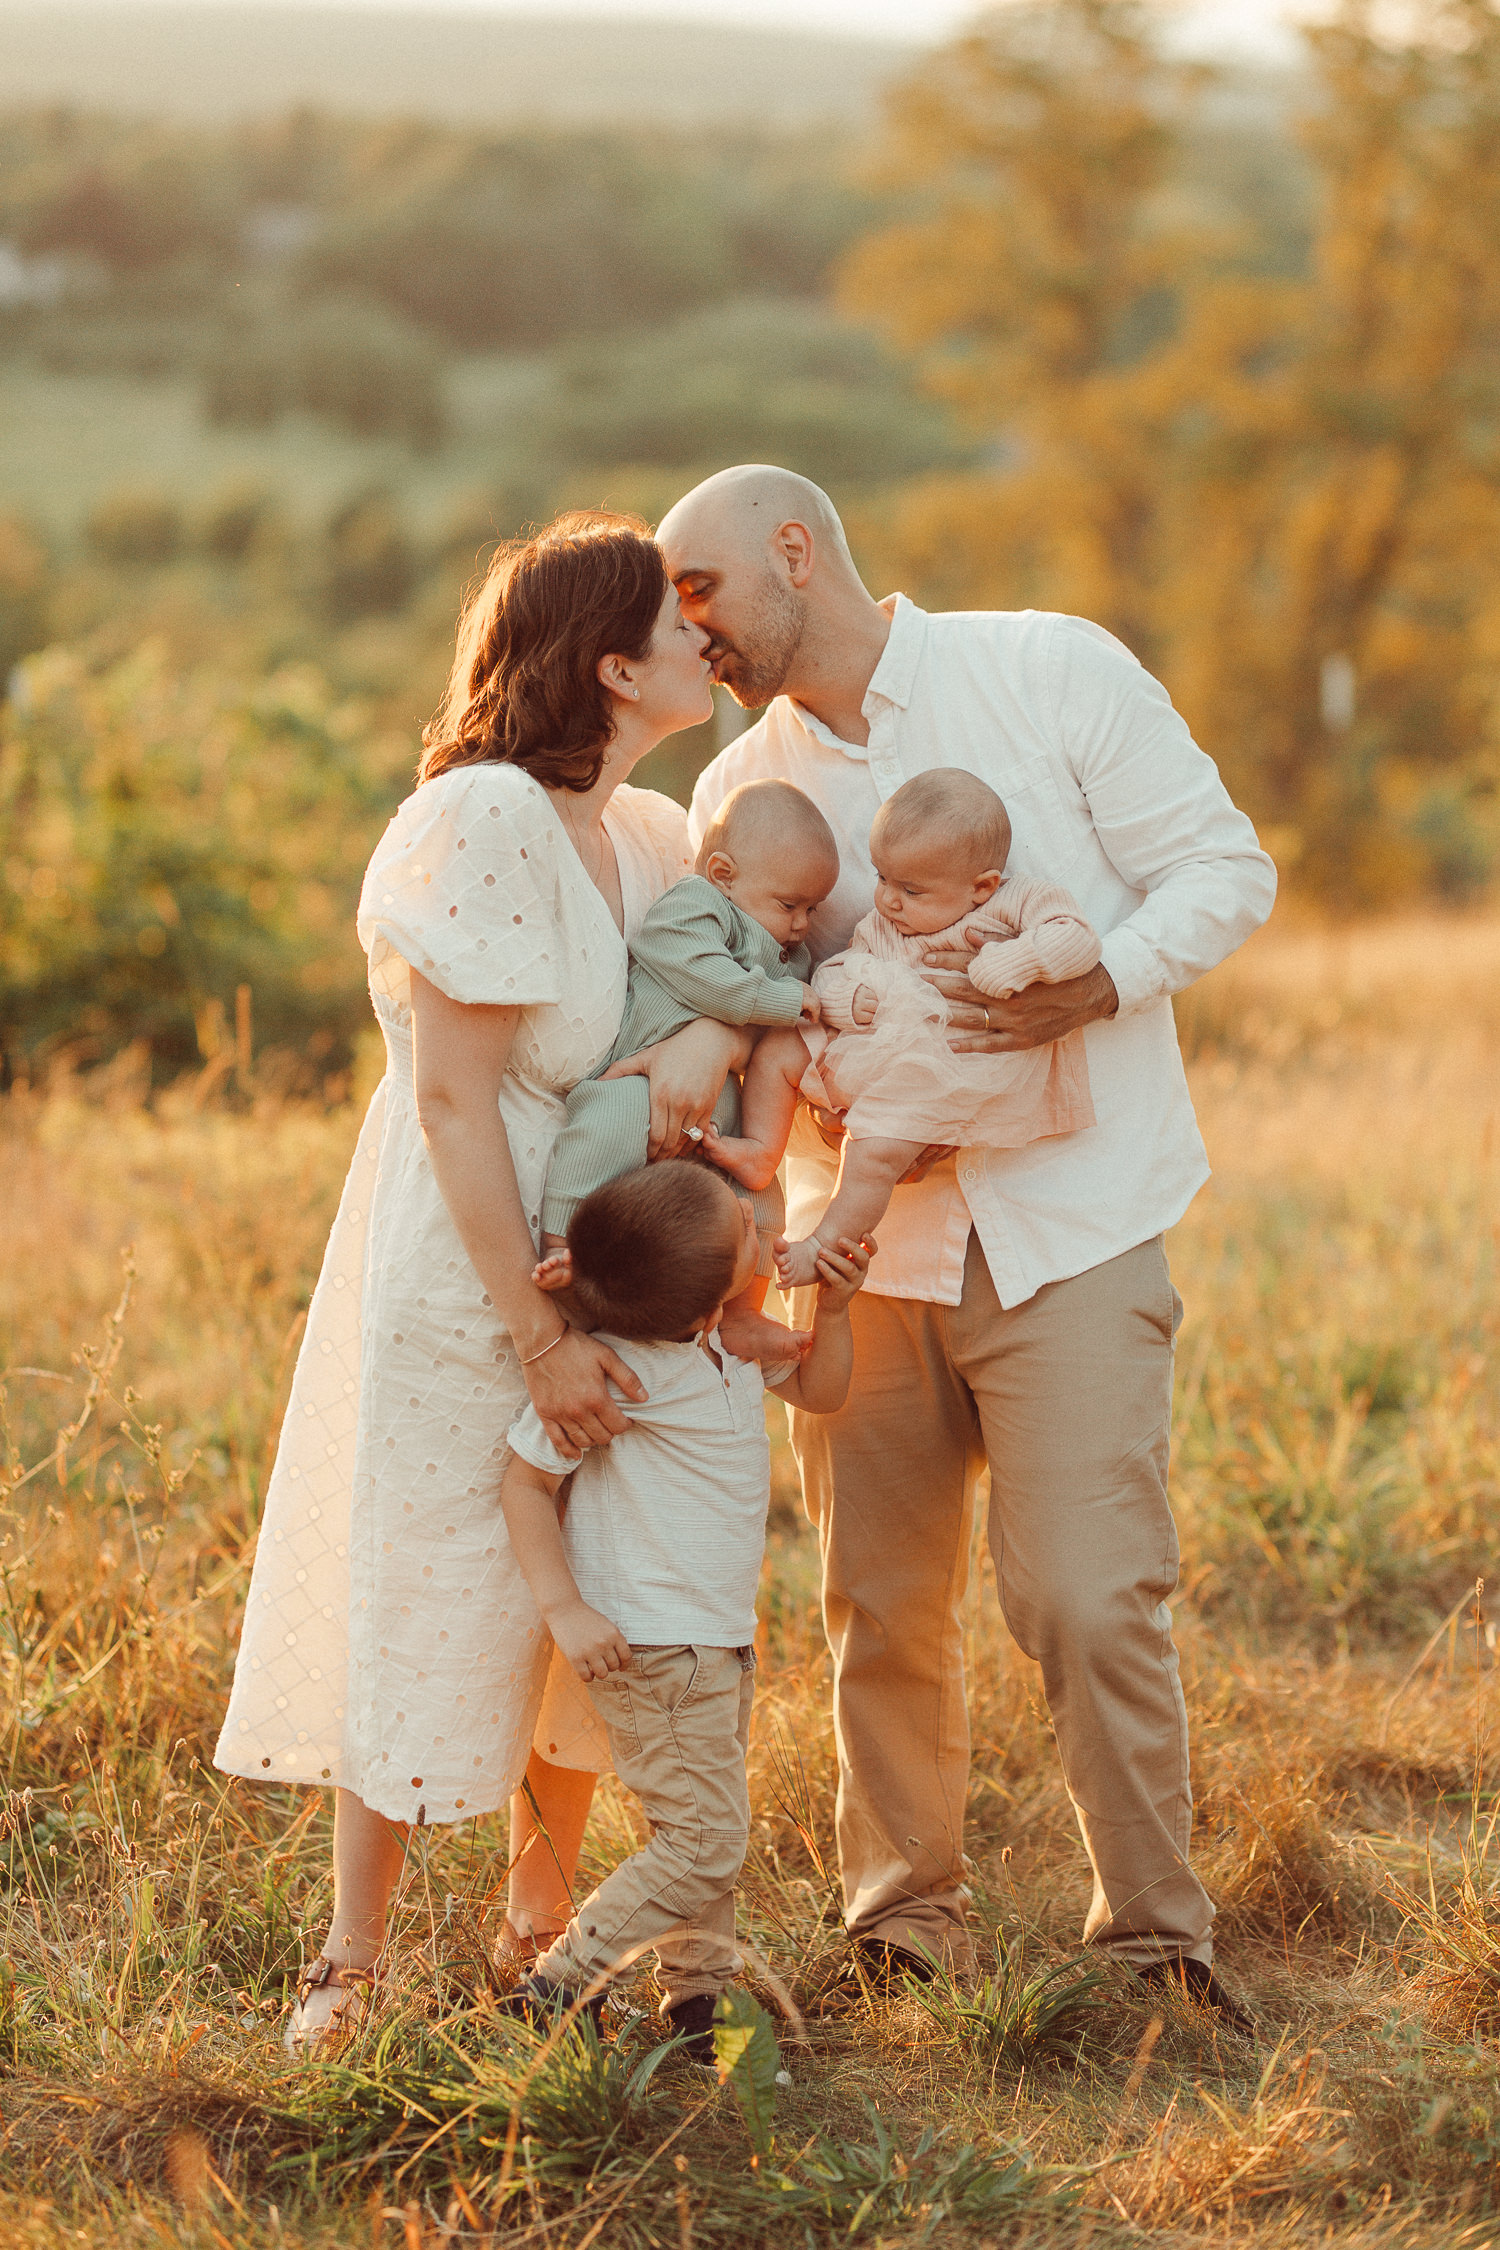
There are infinite ways of editing outdoor family photos. Part of building a successful photography business is really finding your style and learning how to keep your finished work consistent. Let’s take a look at this part of my workflow. I’ll walk you through my process and include some before & afters (before on the left, after on the right– use the slider arrows to move back and forth).
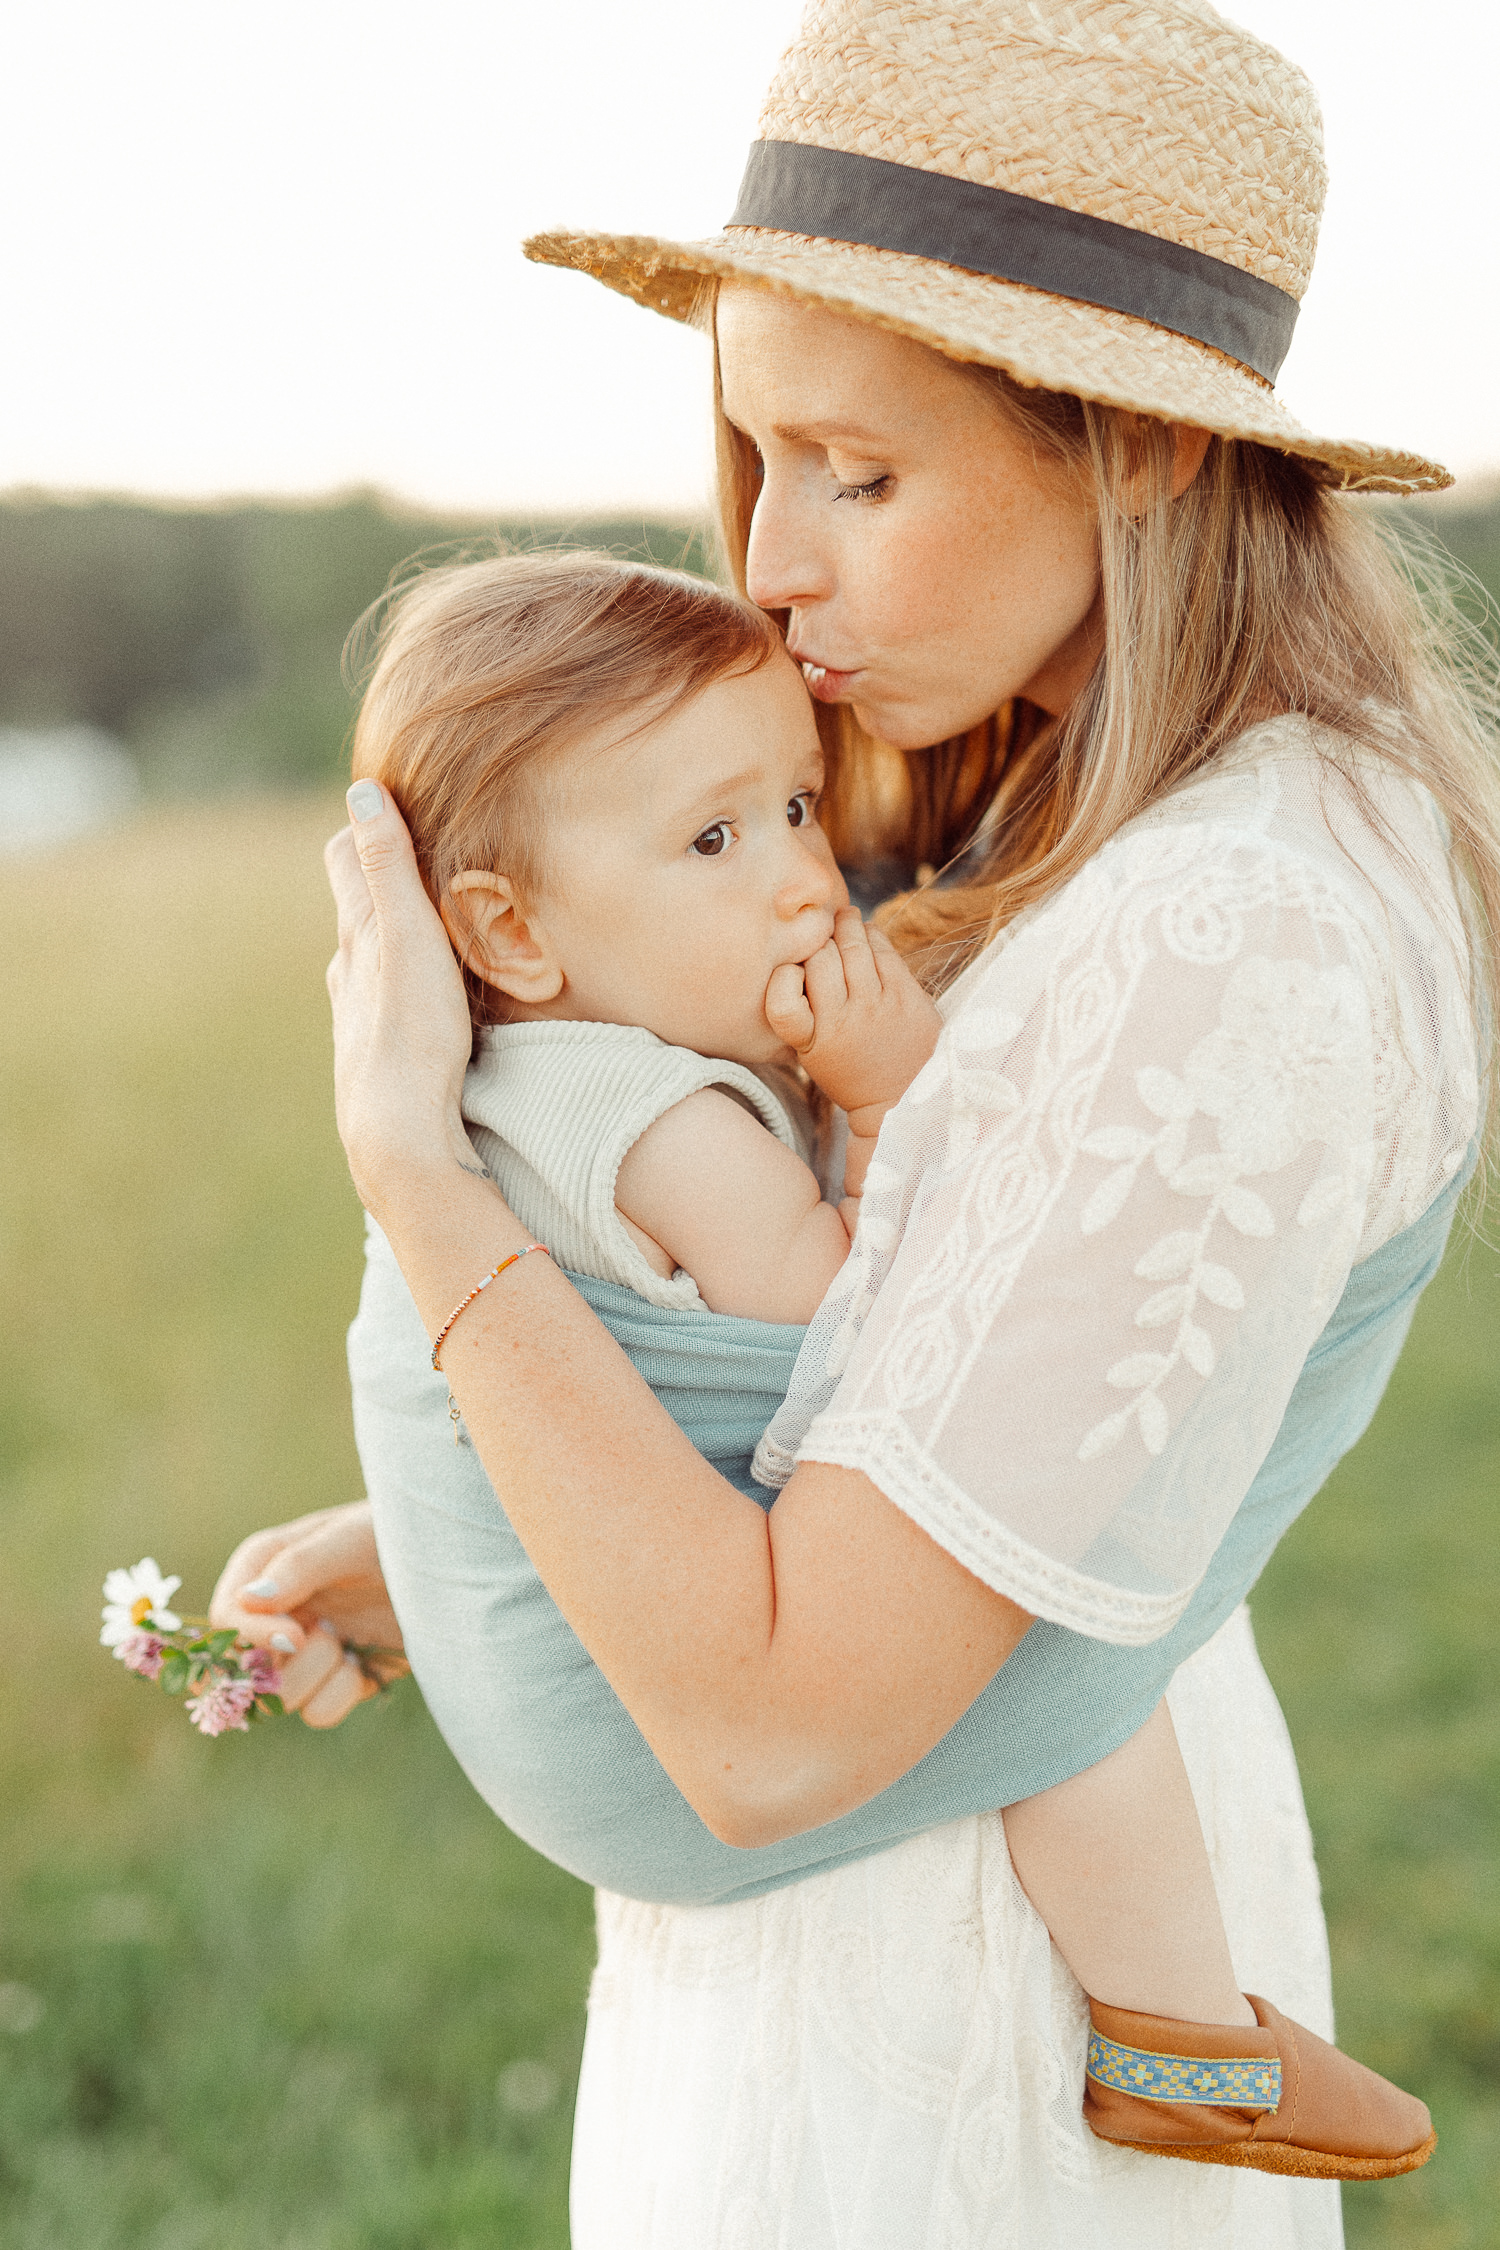
Before You Edit: Start with Well-Lit and Well-Exposed Images
Post-production can be a time-consuming process, but one way to keep yourself efficient is to make sure the files you are editing look great straight from the camera. Lighting is most important here– paying attention to the quality and direction of light is key. This is why I do all my outdoor family photography sessions at “golden hour”, which is right before sunset when the sun is low in the sky and the light is much softer.
The idea is that your editing will be finishing touches rather than fixing poor image quality. Make sure to shoot with your final product in mind. I know I like to have plenty of detail in the highlights, so I often shoot slightly underexposed so I’ll be able to pull those details back later.
Software
For all of my editing, I use Lightroom, in conjunction with Photoshop. Adobe offers them as a bundle for only $10/ month here.
Timeless Edits that Still Stand out
There are many editing trends that come and go, but I always aim to keep my images truly timeless, so you can look at them in an album twenty years from now without cringing at the style. Slight adjustments can take your family photos from good to great.
Typical Adjustments I Make on Each Image
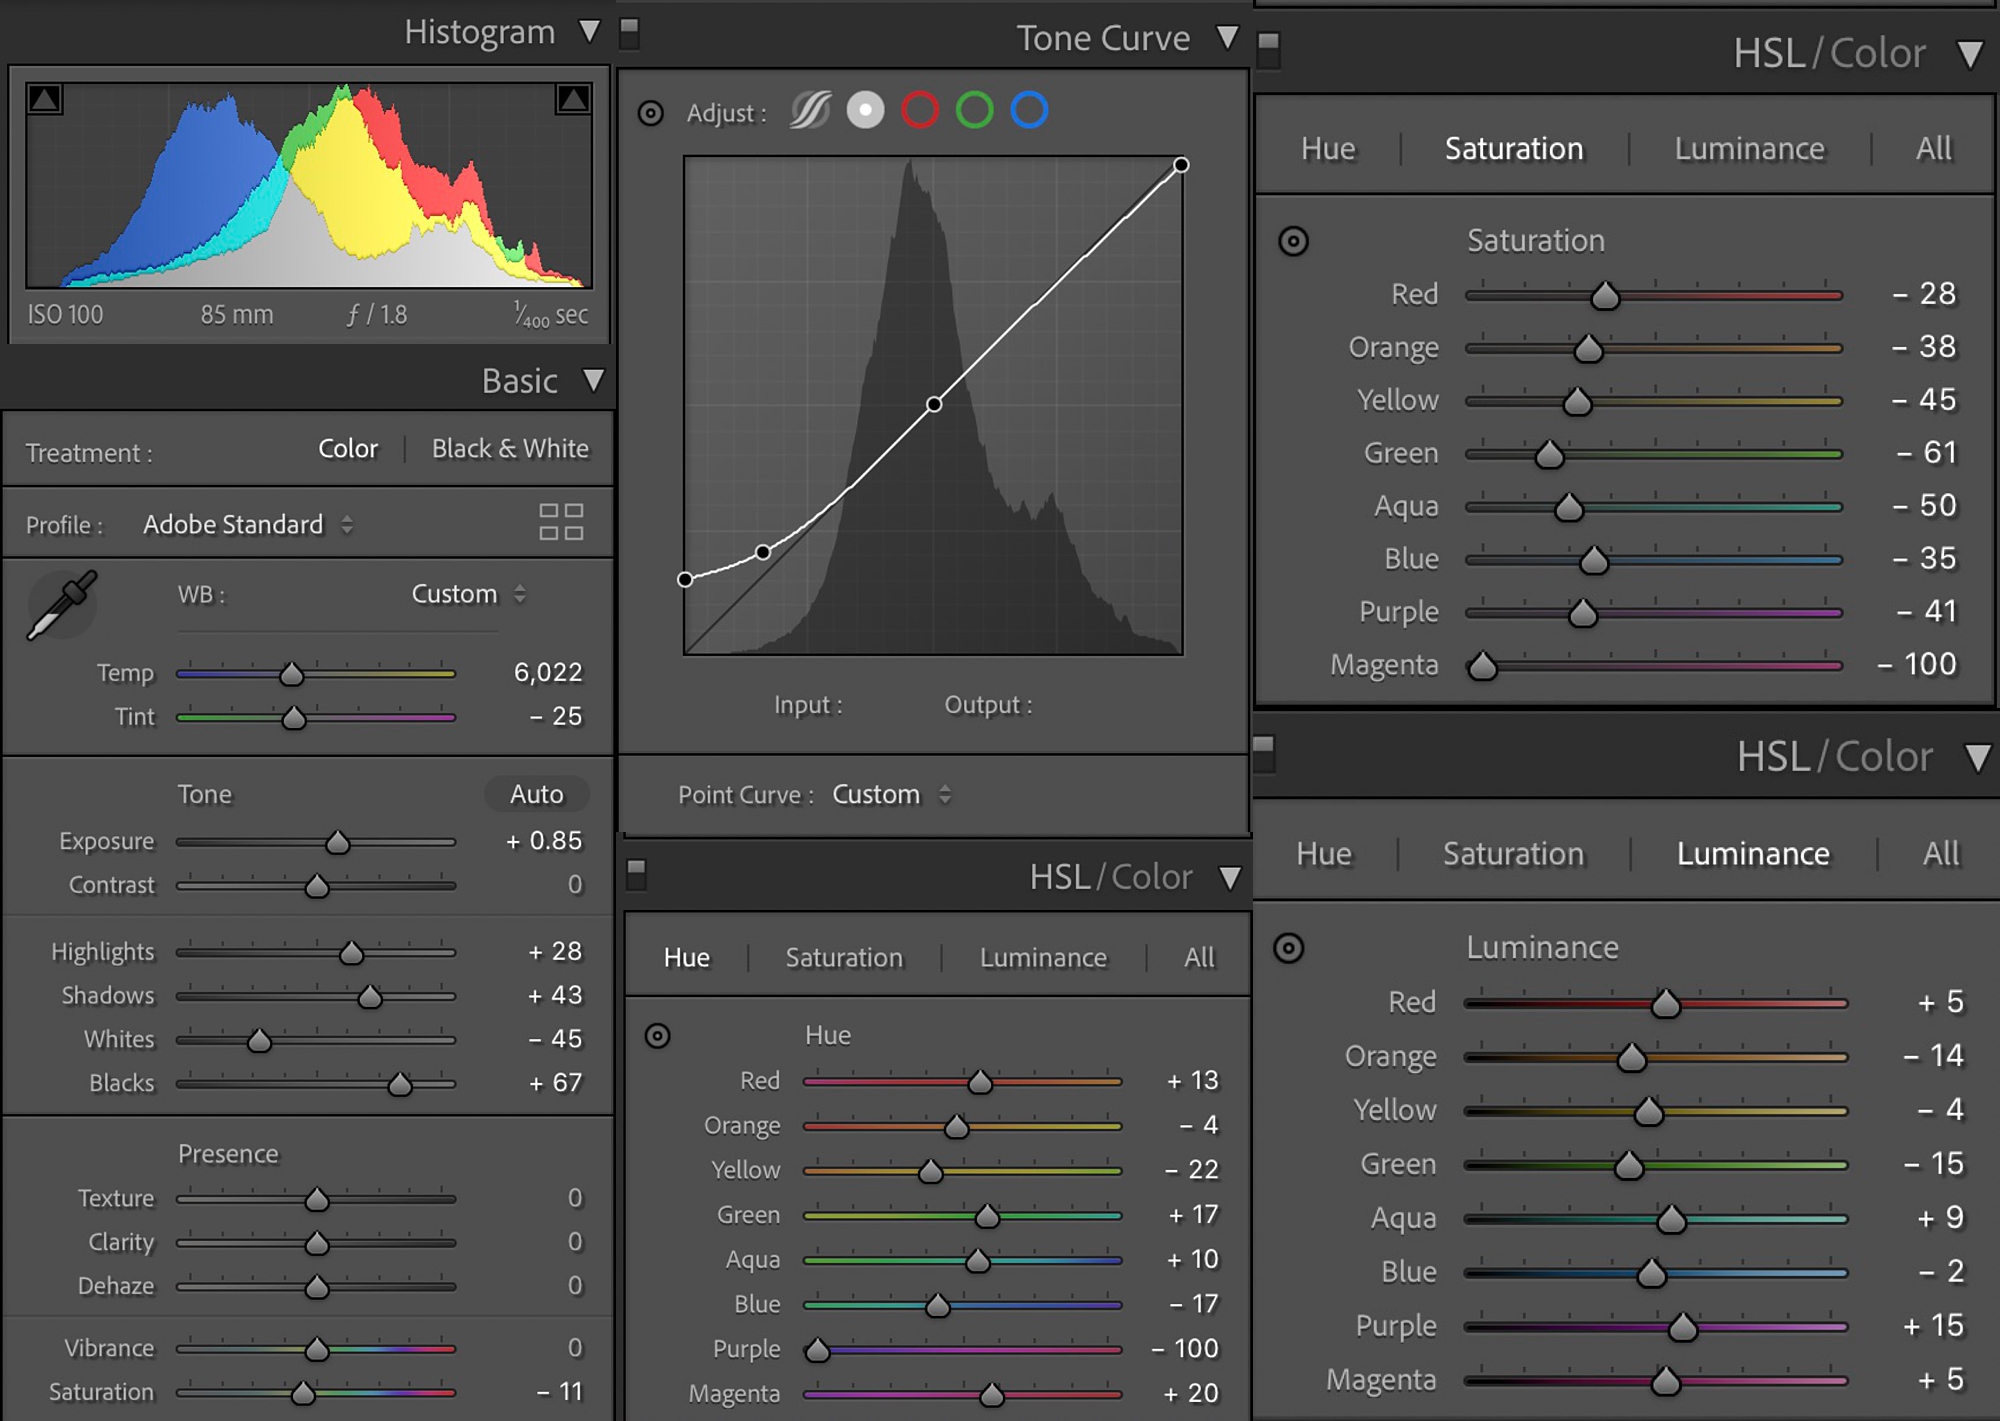
Though every image will be slightly different, there are certain things I do every time. After applying a base preset (more on that in a moment), first steps are to make sure white balance and exposure are correct. Then based on the image, make adjustments to the highlights and shadows based on how much detail you want to preserve. I usually bring the highlights up and whites down which gives the images a softer look but is less “bright and airy”.
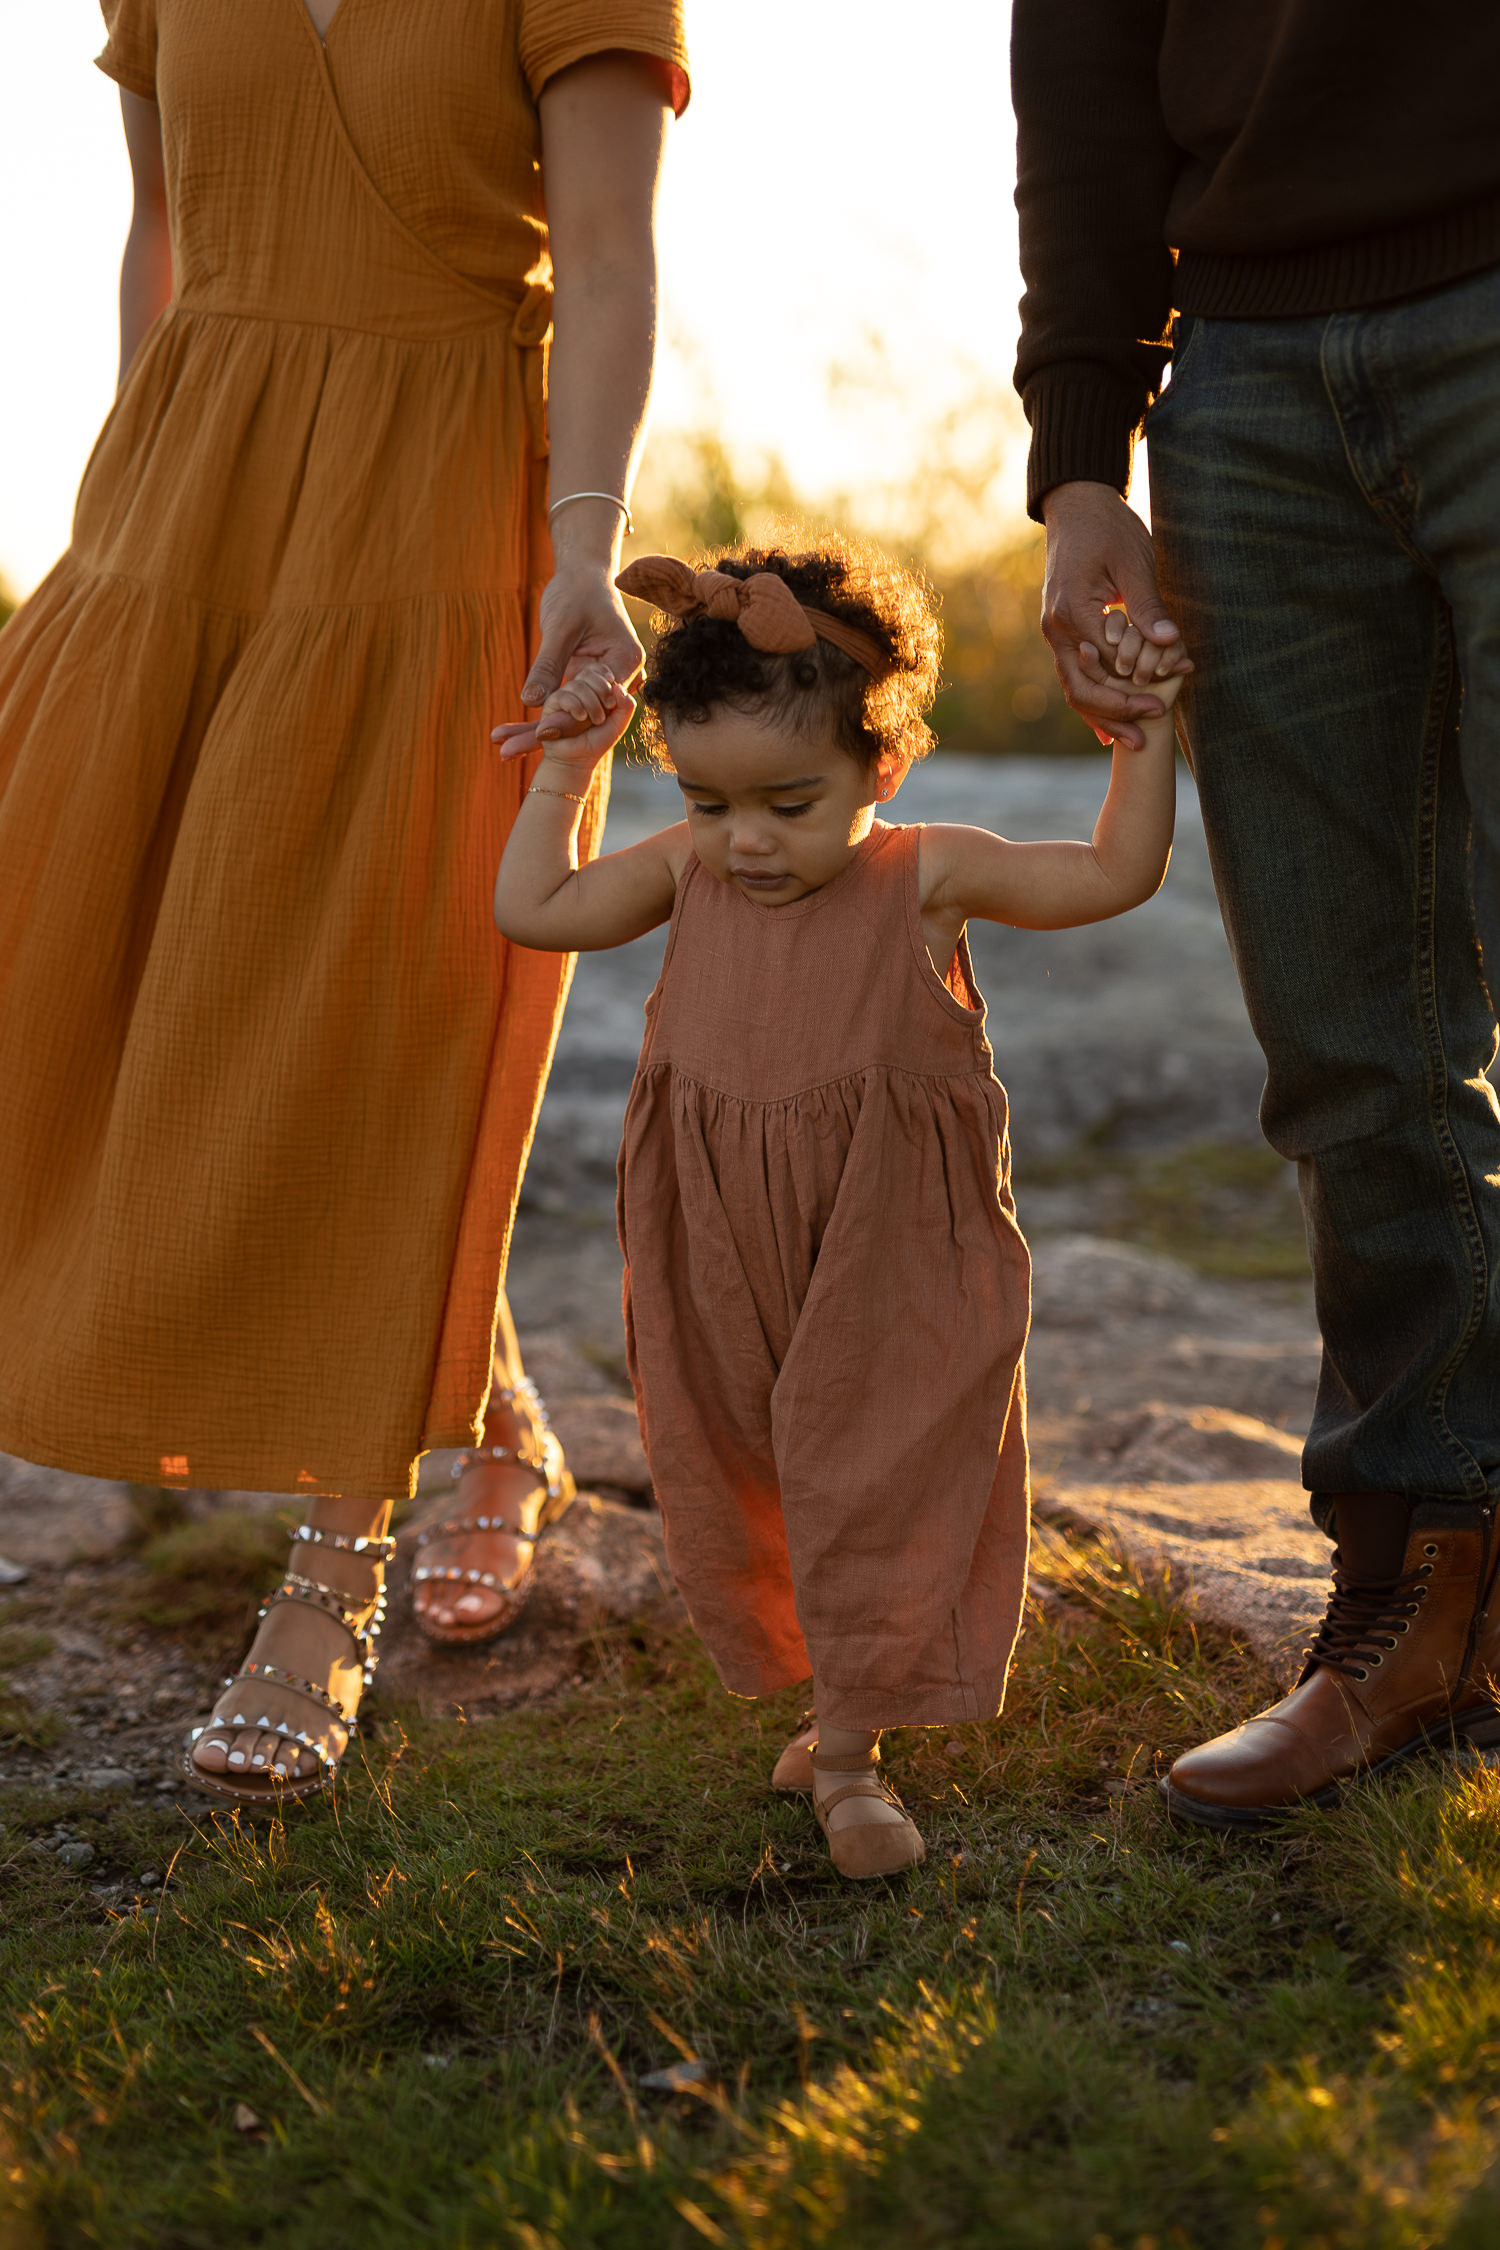
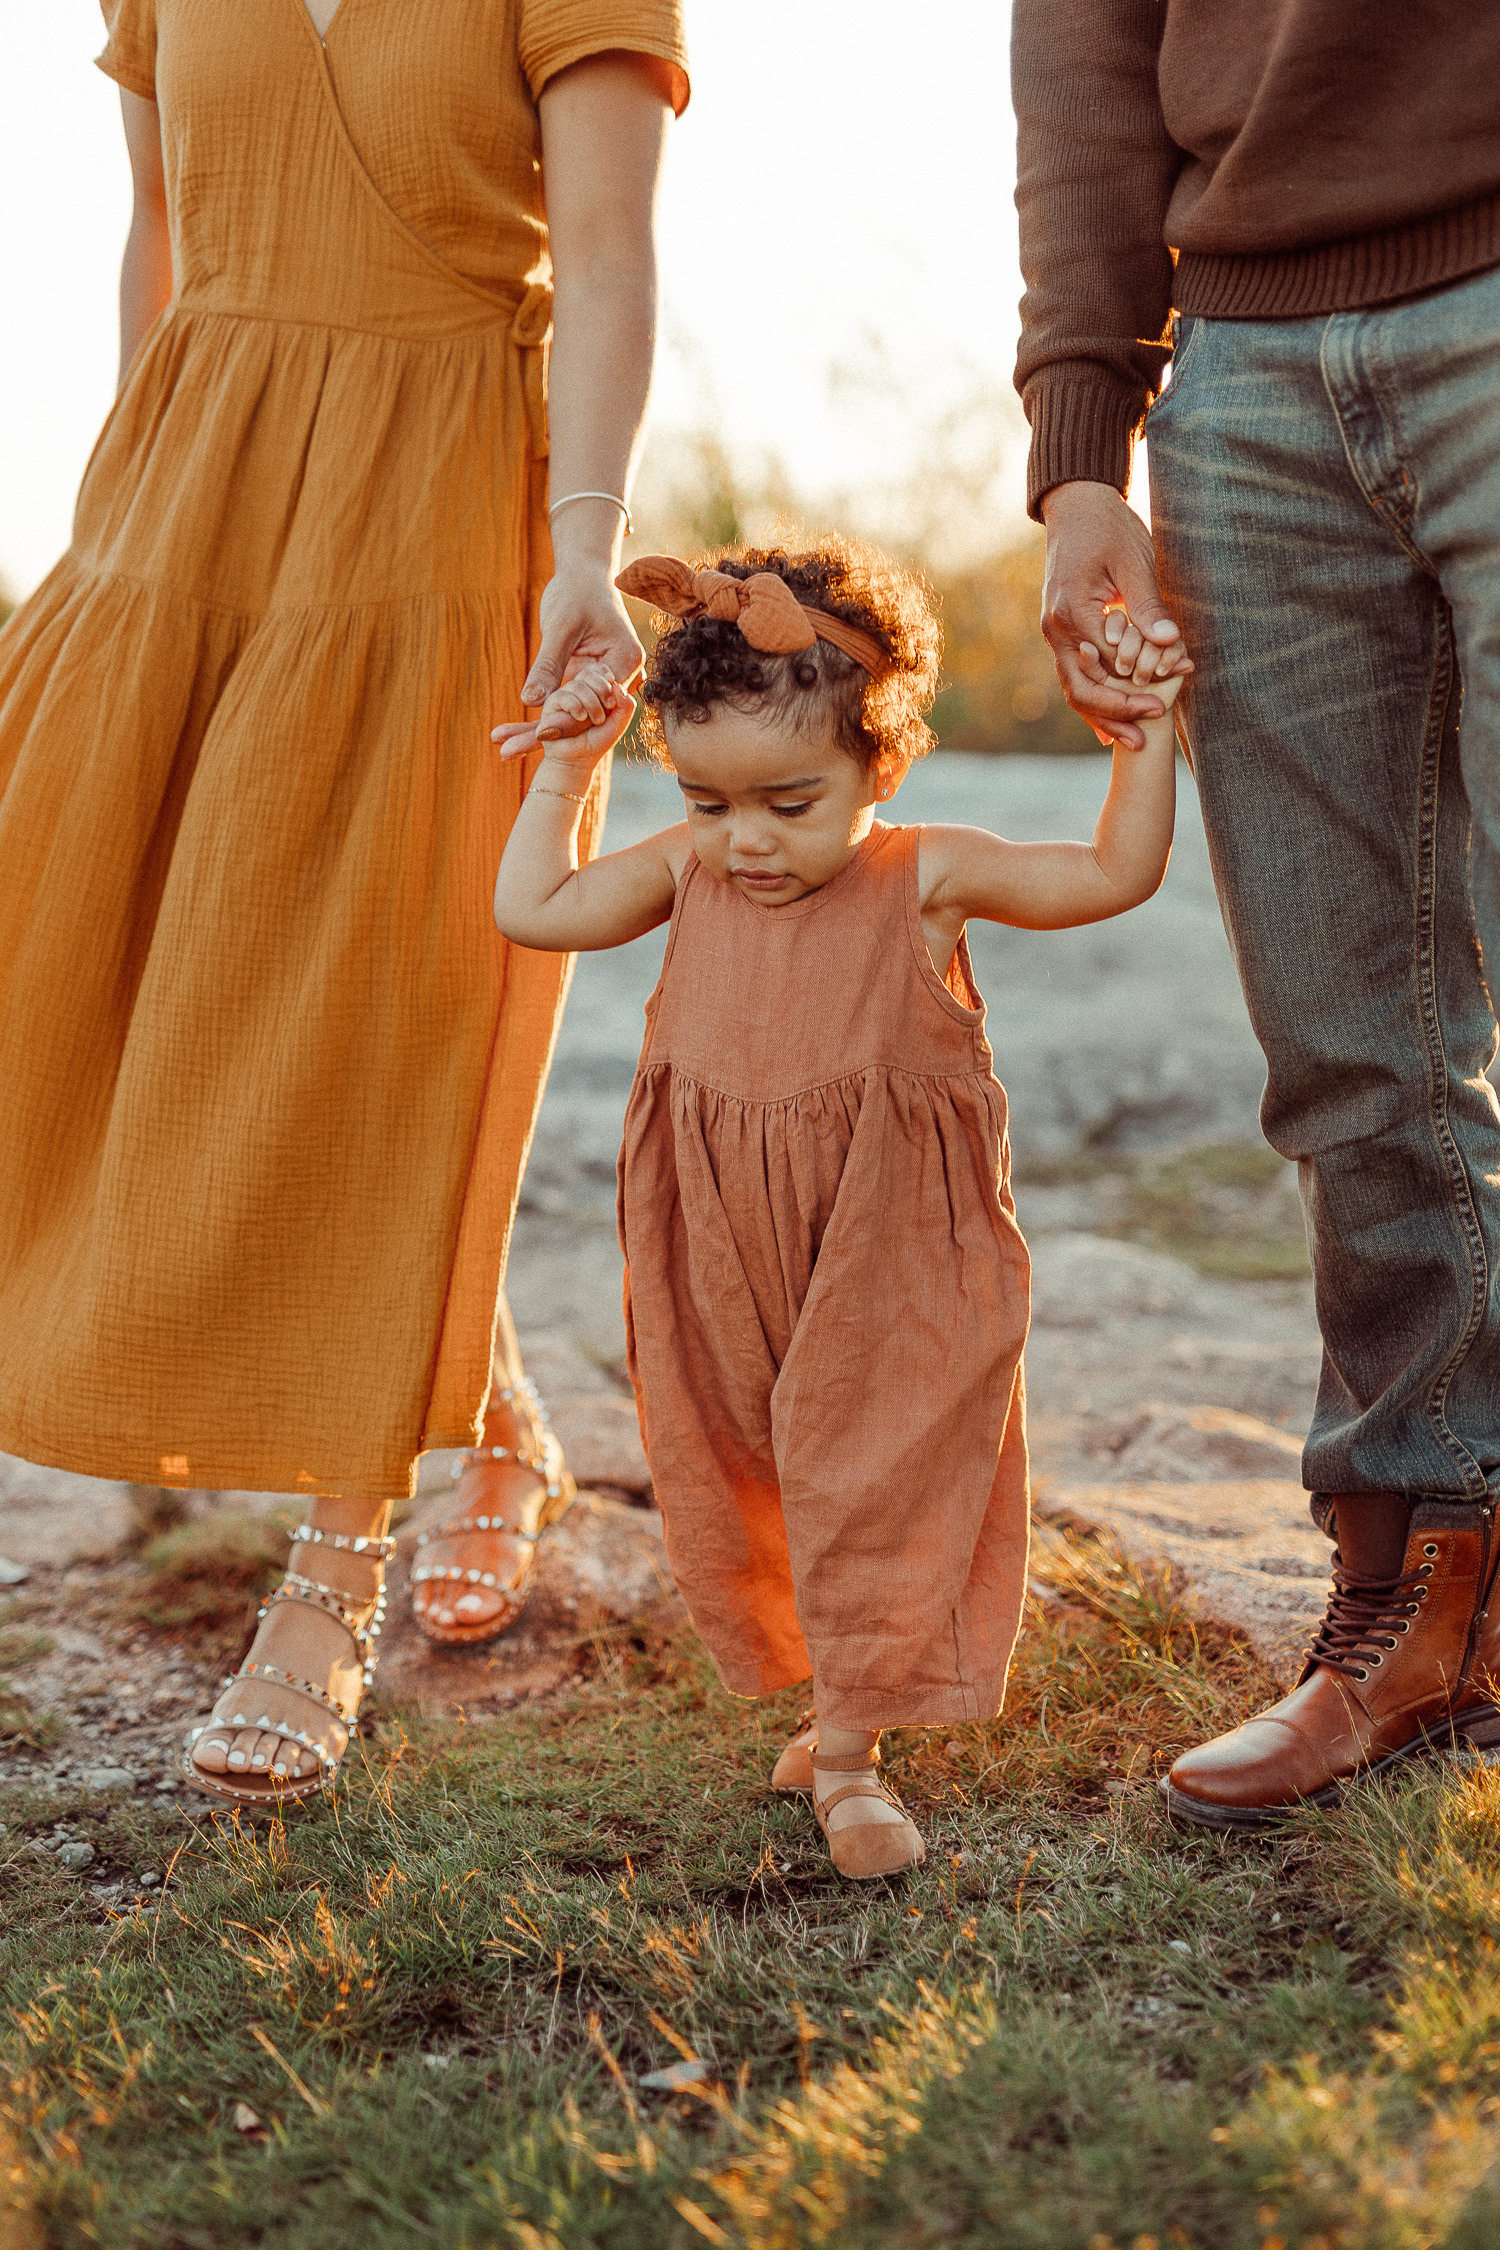
Another area that always gets attention is the tone curve. Slight adjustments are better than extreme here. Next is the hue/ saturation/ luminance panel. I lower the saturation on a lot of colors to keep that soft look. The “orange” is important to pay attention to since this is where most skin tones are. Playing with the saturation and luminance of oranges can help to perfect the look of the skin. Your settings for someone with darker skin will be different than the settings for someone with lighter skin. Play around with it!
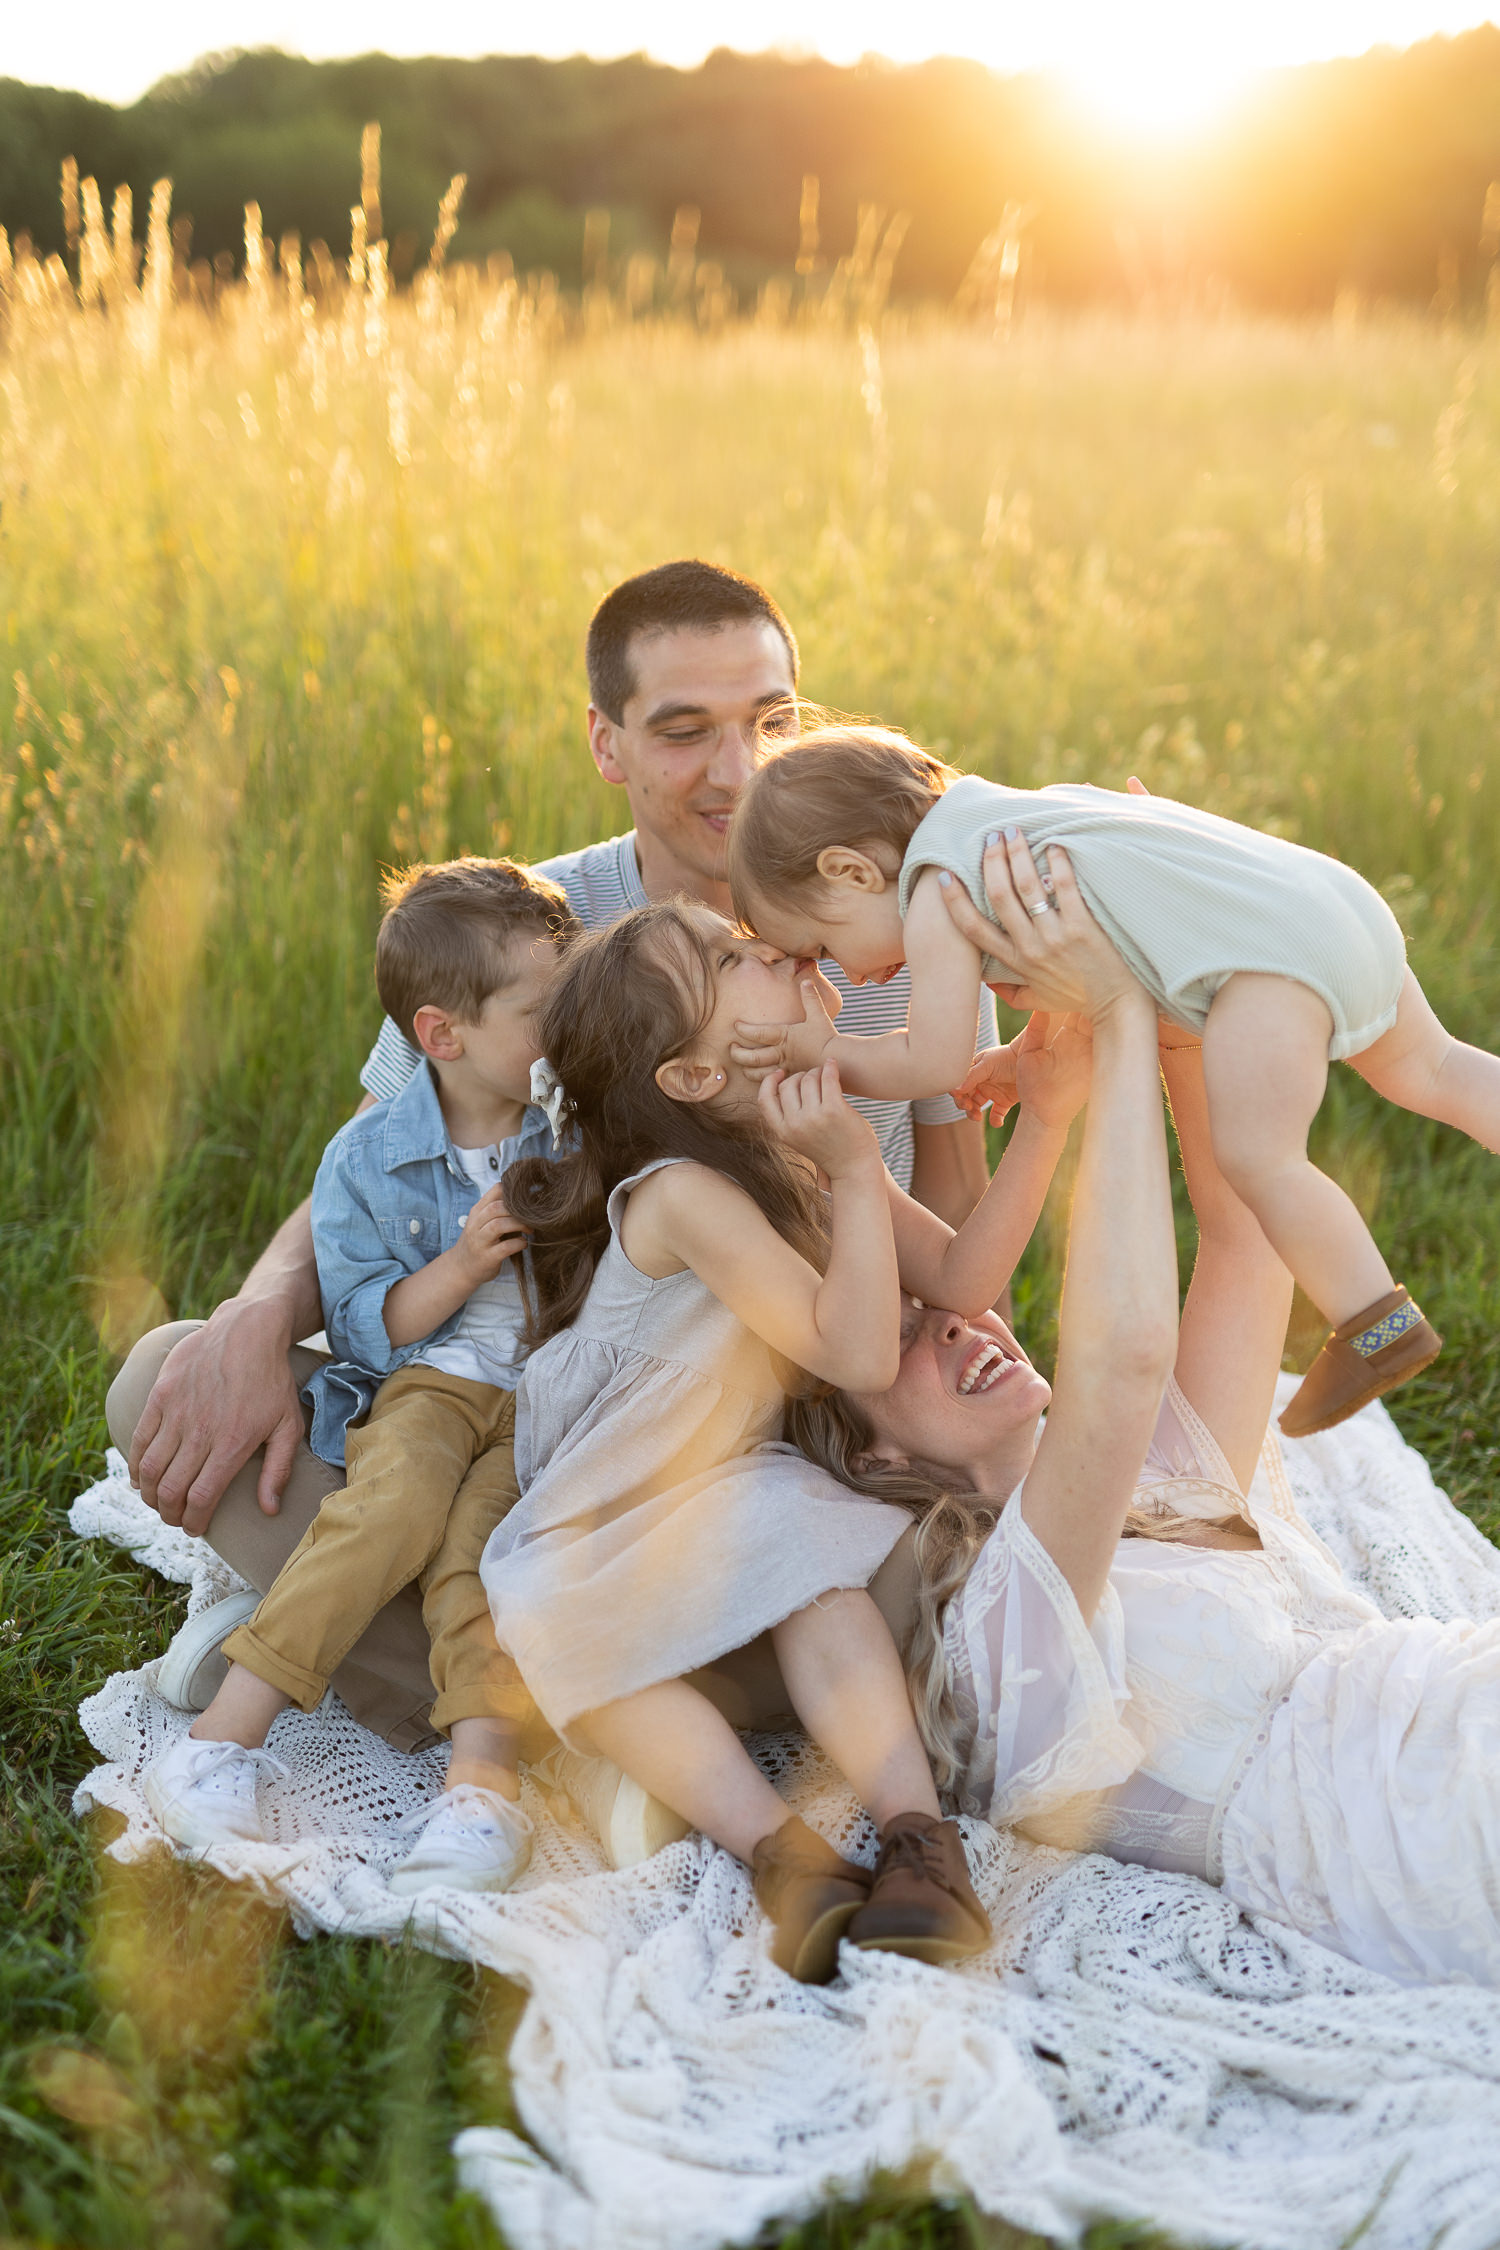
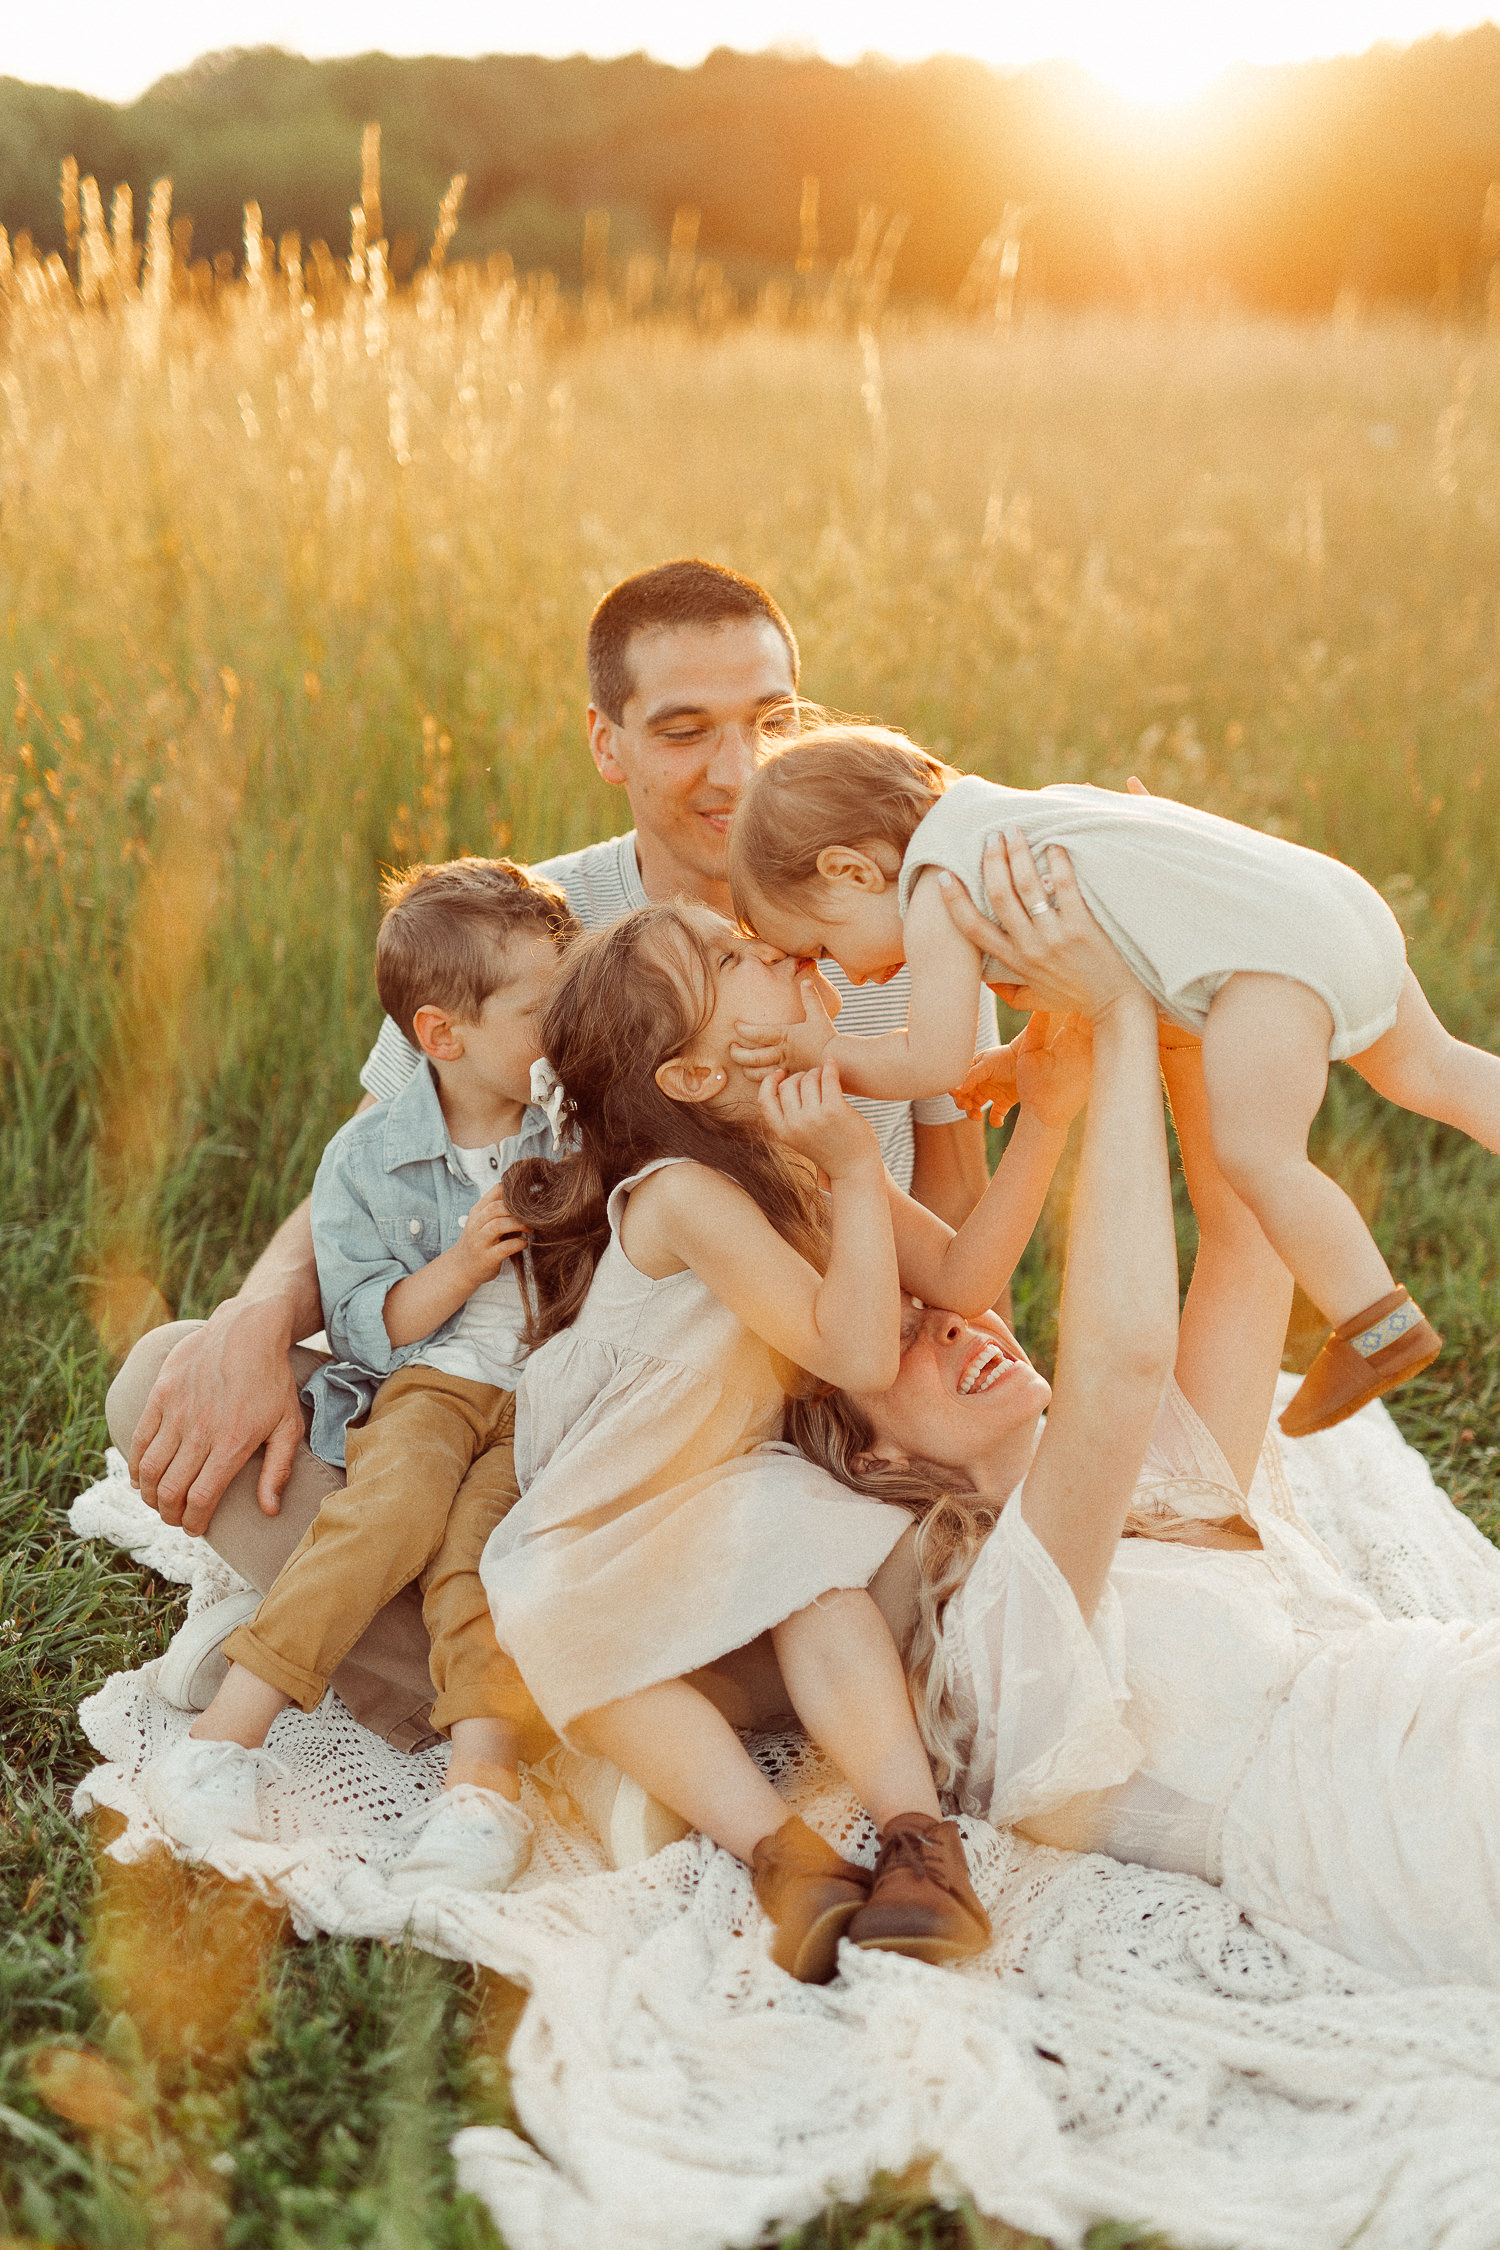
Below you will see my settings from a typical family image (from one of my favorite spots in Groton, Massachusetts!).
Presets
Presets can be a powerful tool to keep your editing consistent, but it’s still important to learn your way around all the adjustment panel options. I do have a few sets of purchased presets that I’ve tried in the past, but always find that they never work exactly the same for me as they seem to with someone else’s photos. They can still be useful though, since they can help you to figure out the types of adjustments you want to make on your own images.
Taking all the aspects you like from other edits, you can create your own personal set of presets. I have a set of 8 that I’ve created and use for different situations (backlit sunset vs cloudy day, studio light vs natural light). There isn’t going to be just one preset that’s one-size-fits-all. Images shot at sunset on a hill in Massachusetts are going to need different editing than images shot indoors on a cloudy day.
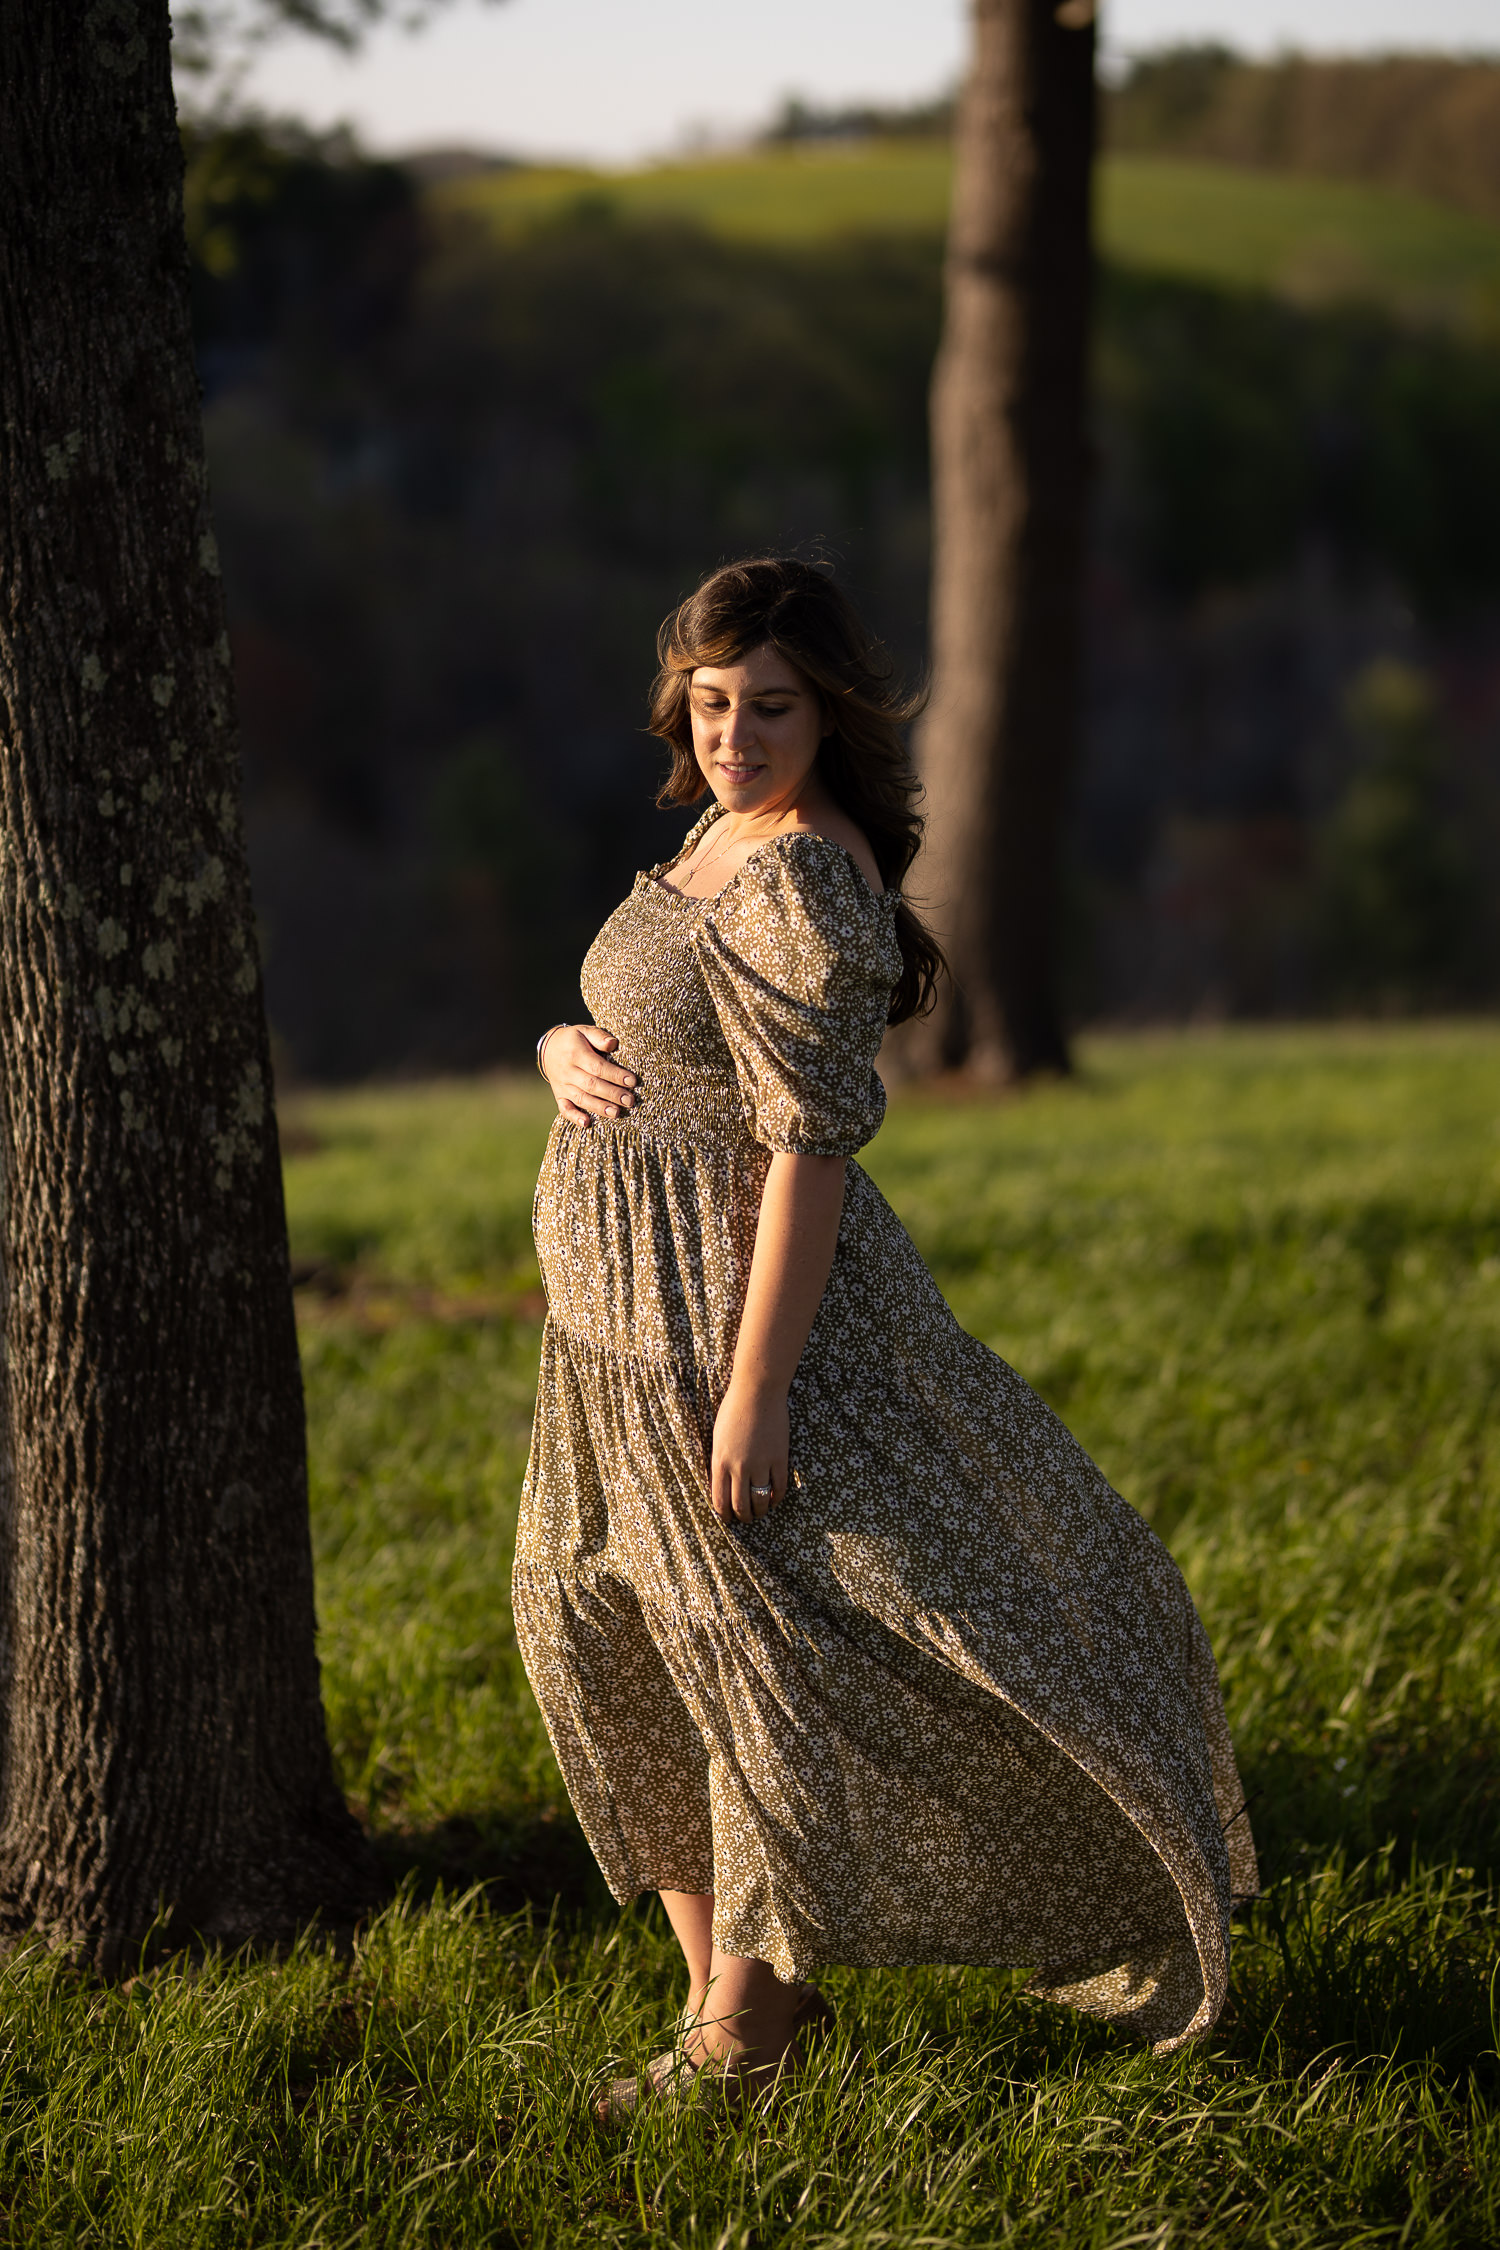
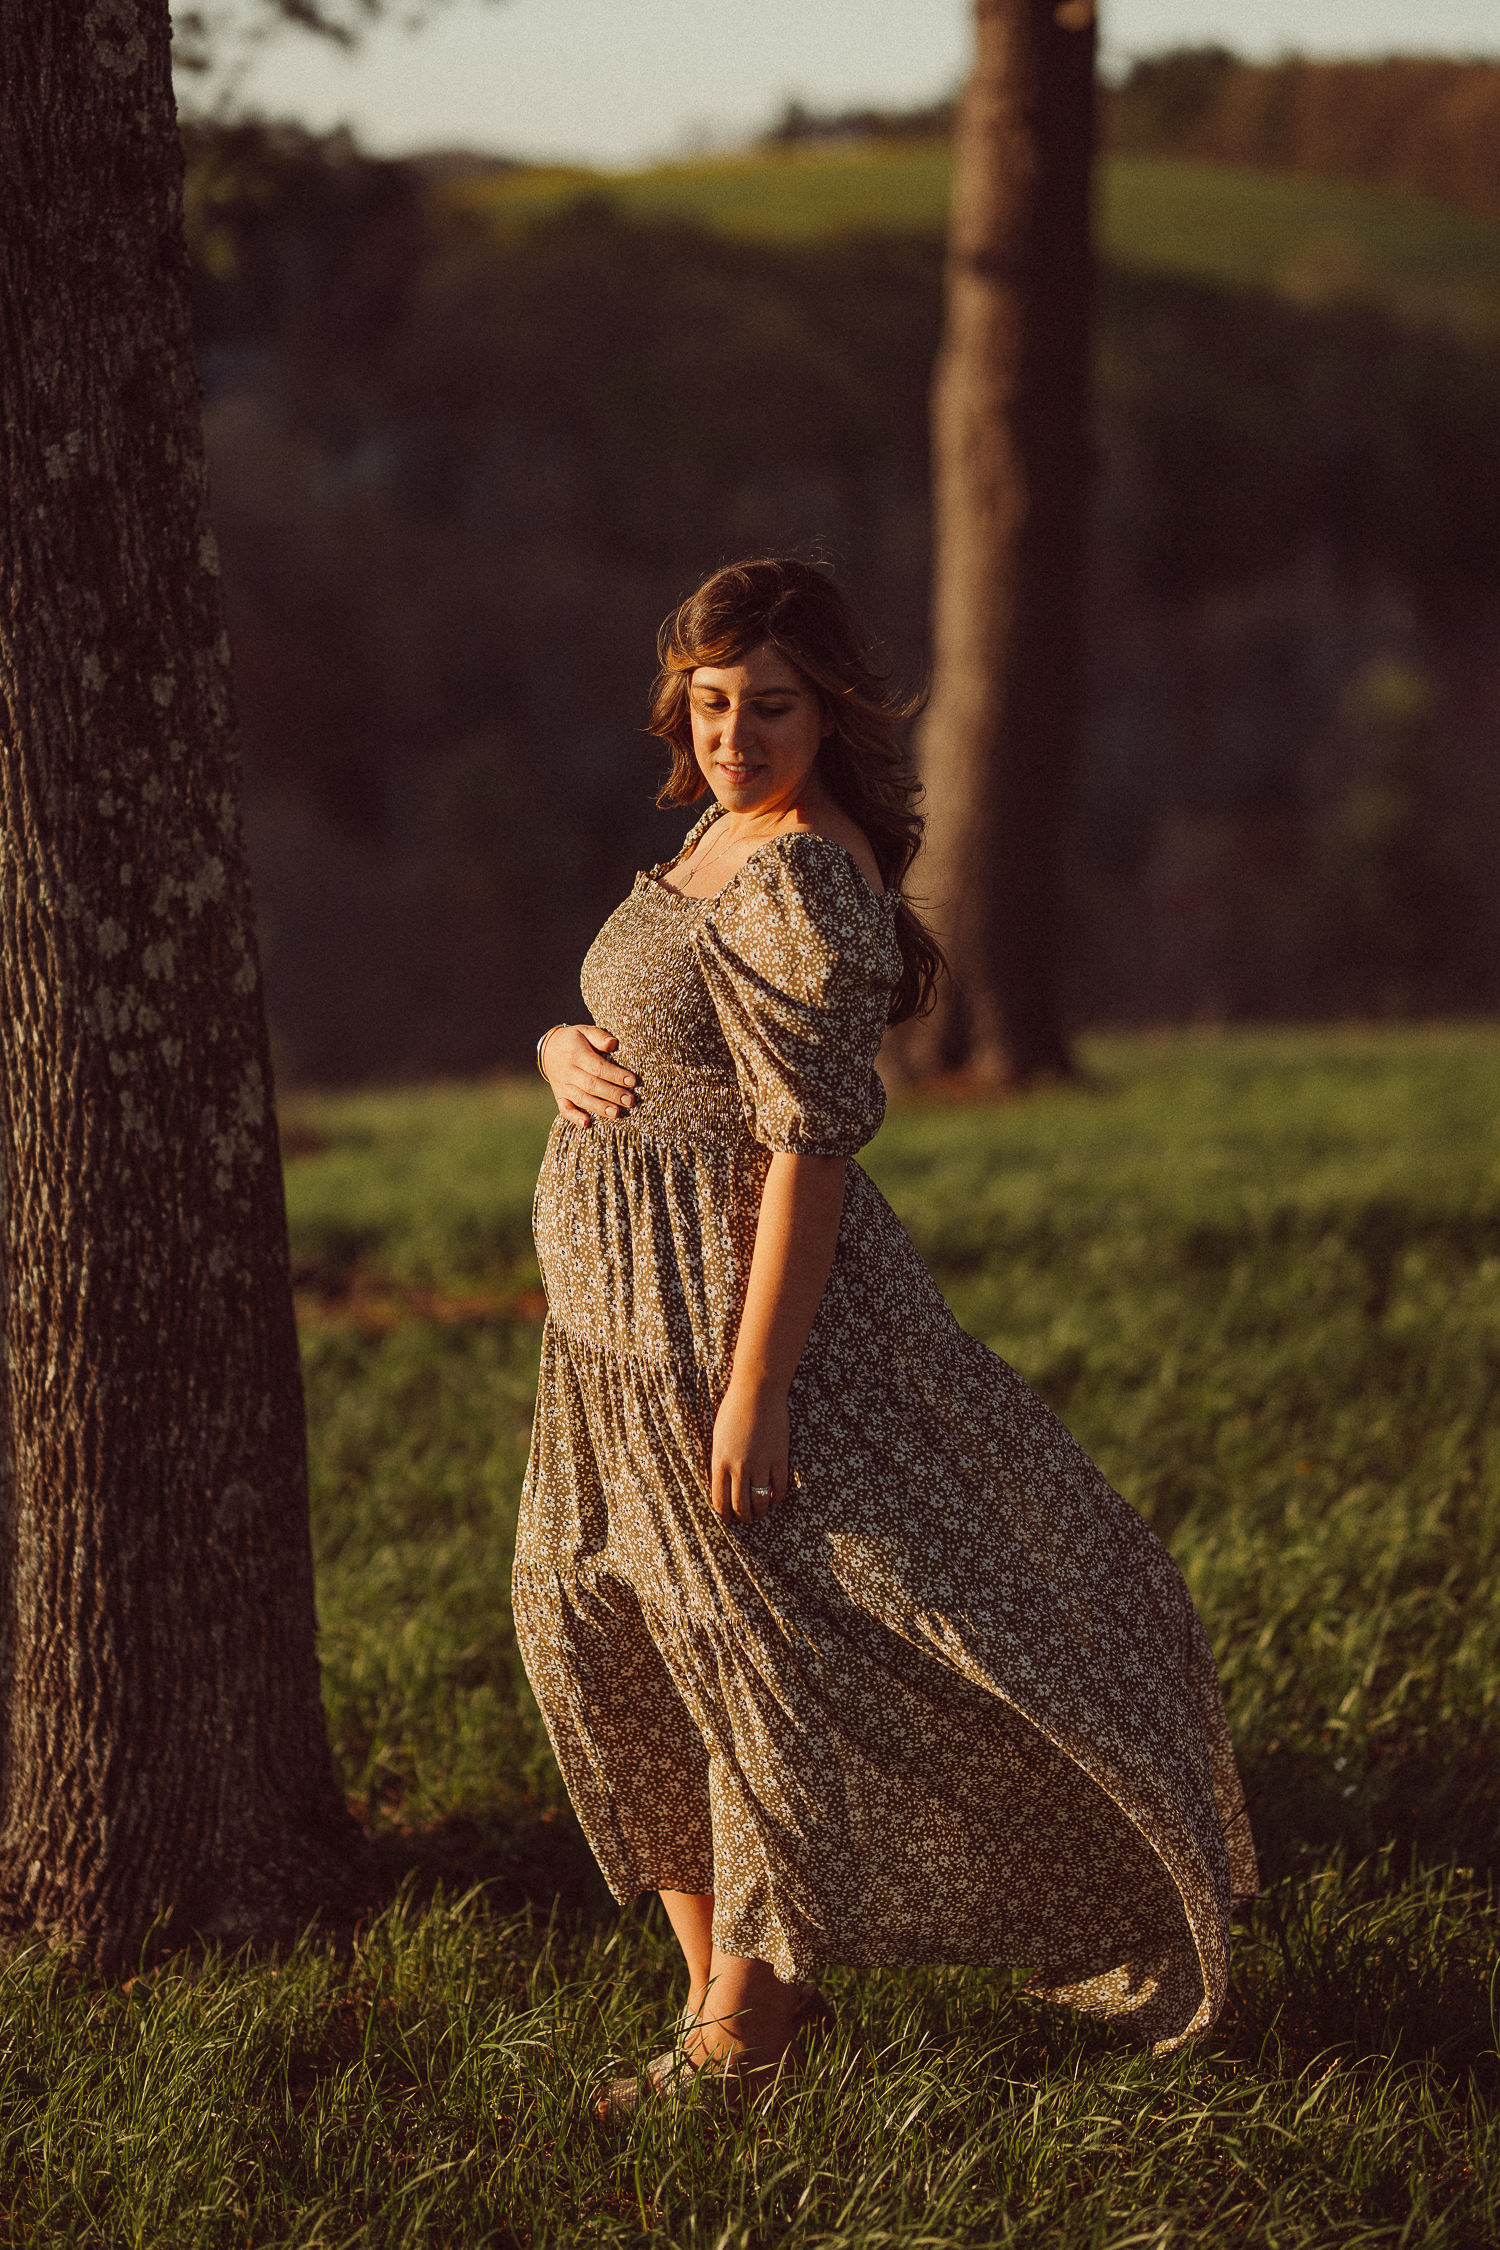
Give Each Image Personal Attention
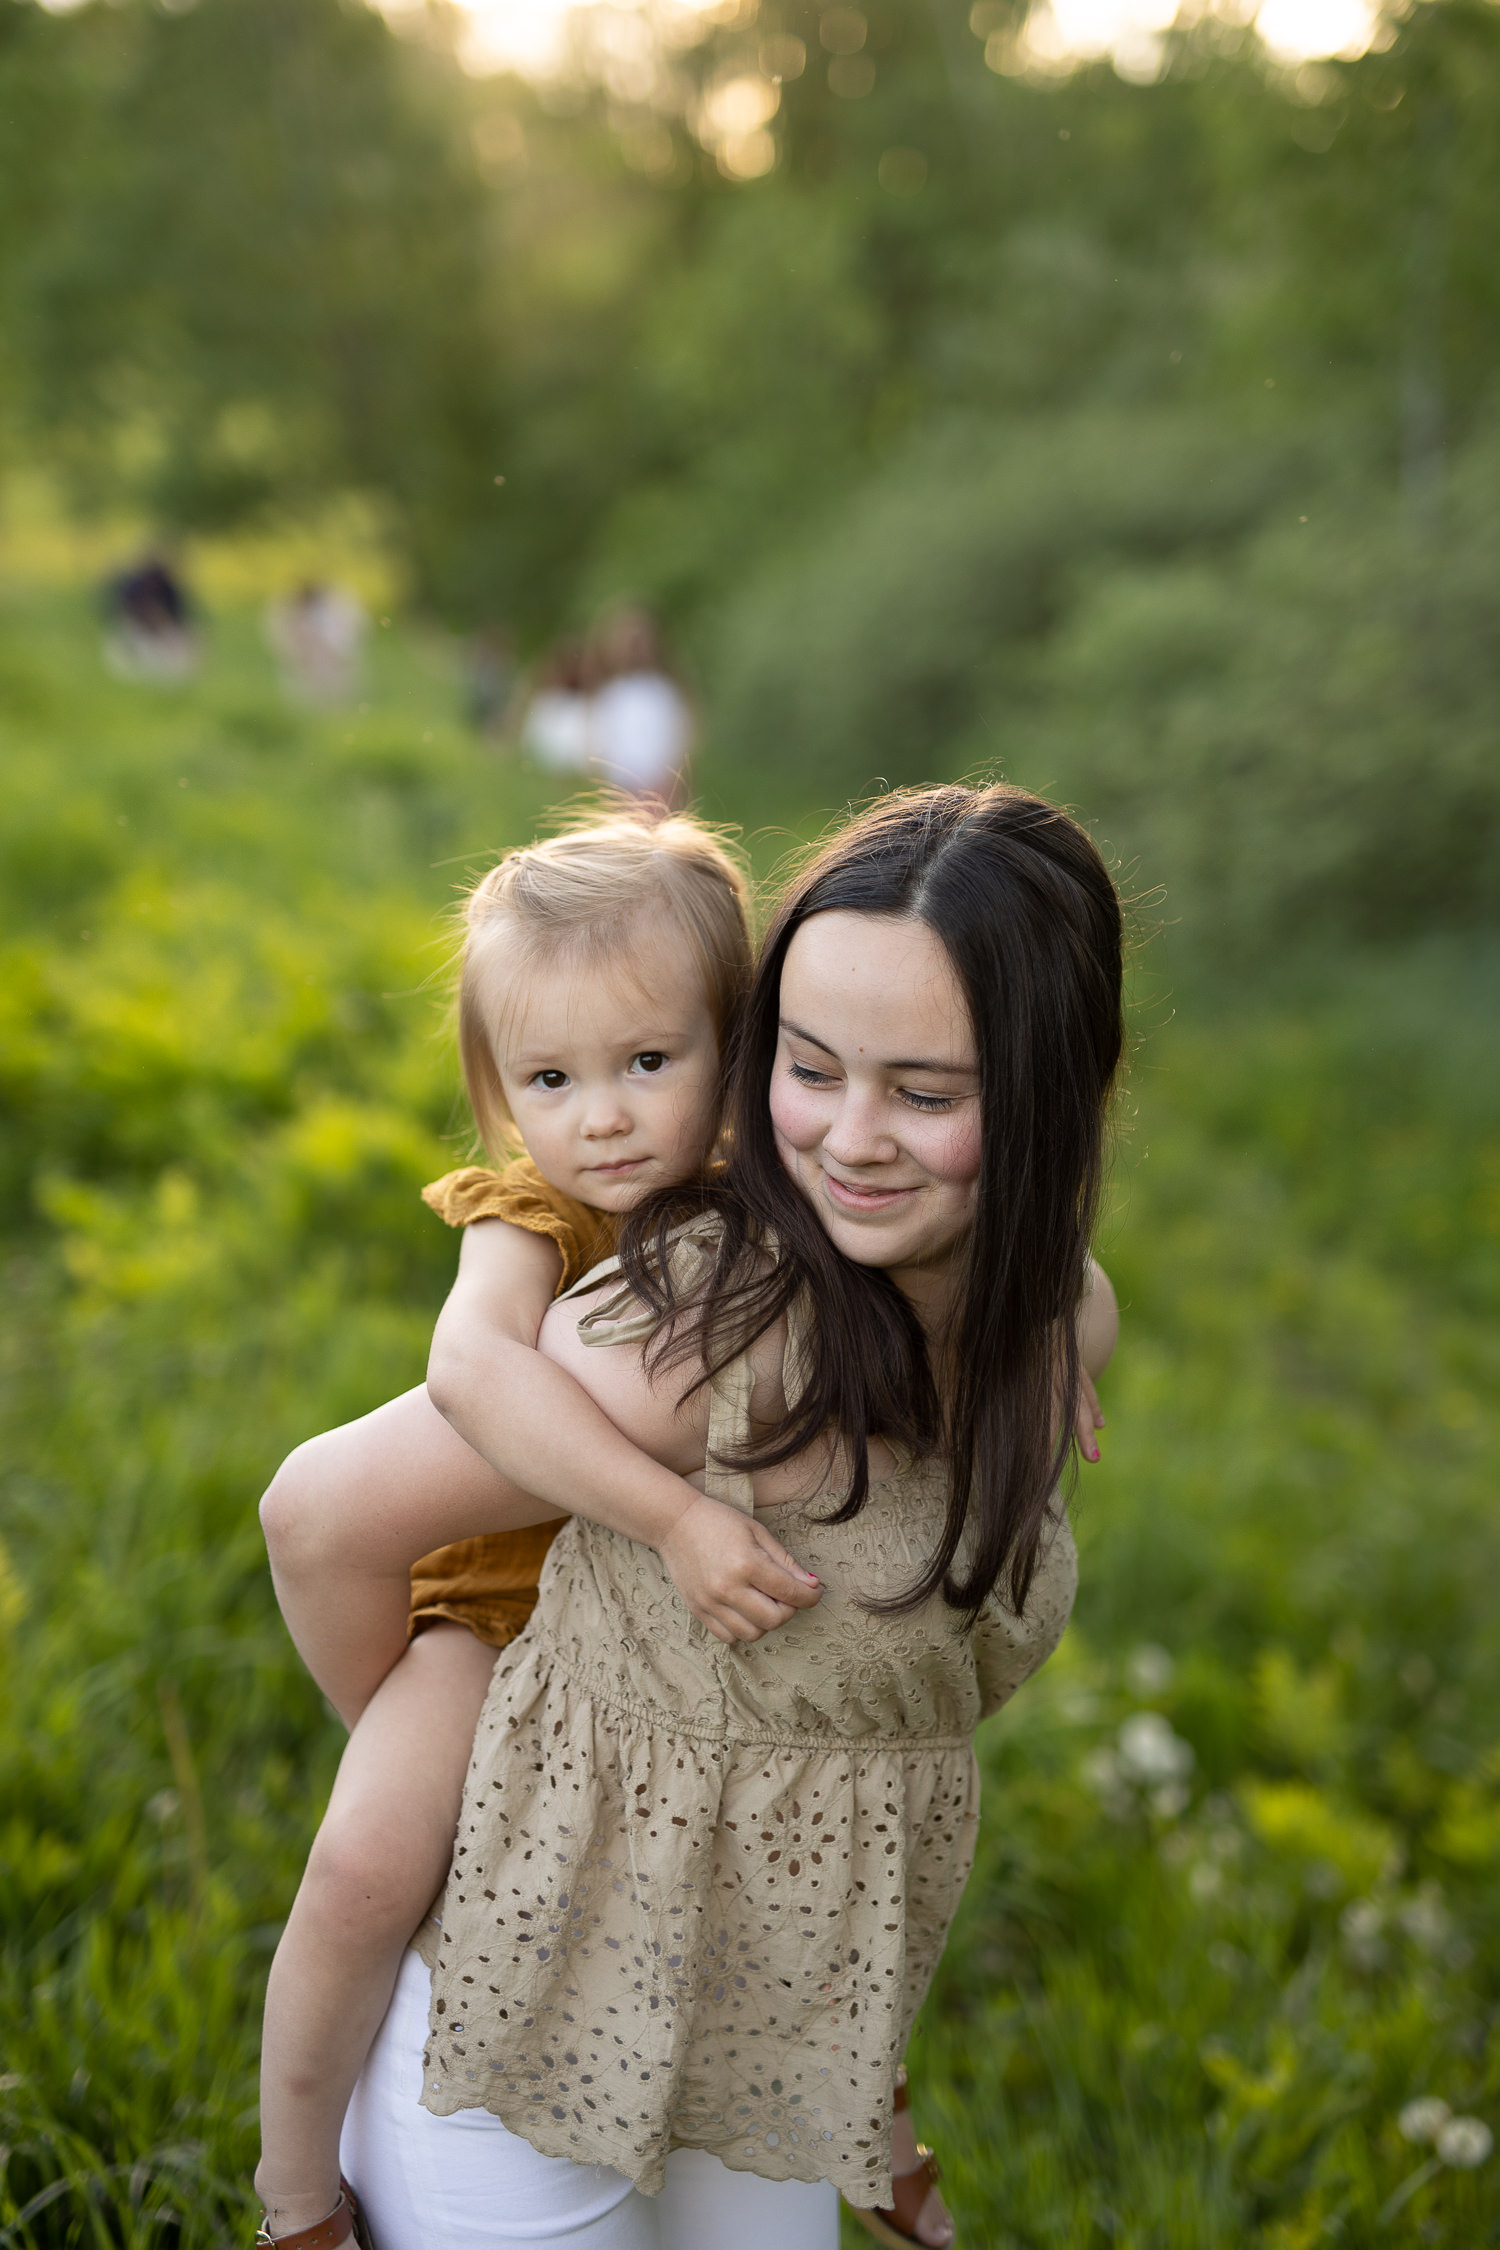
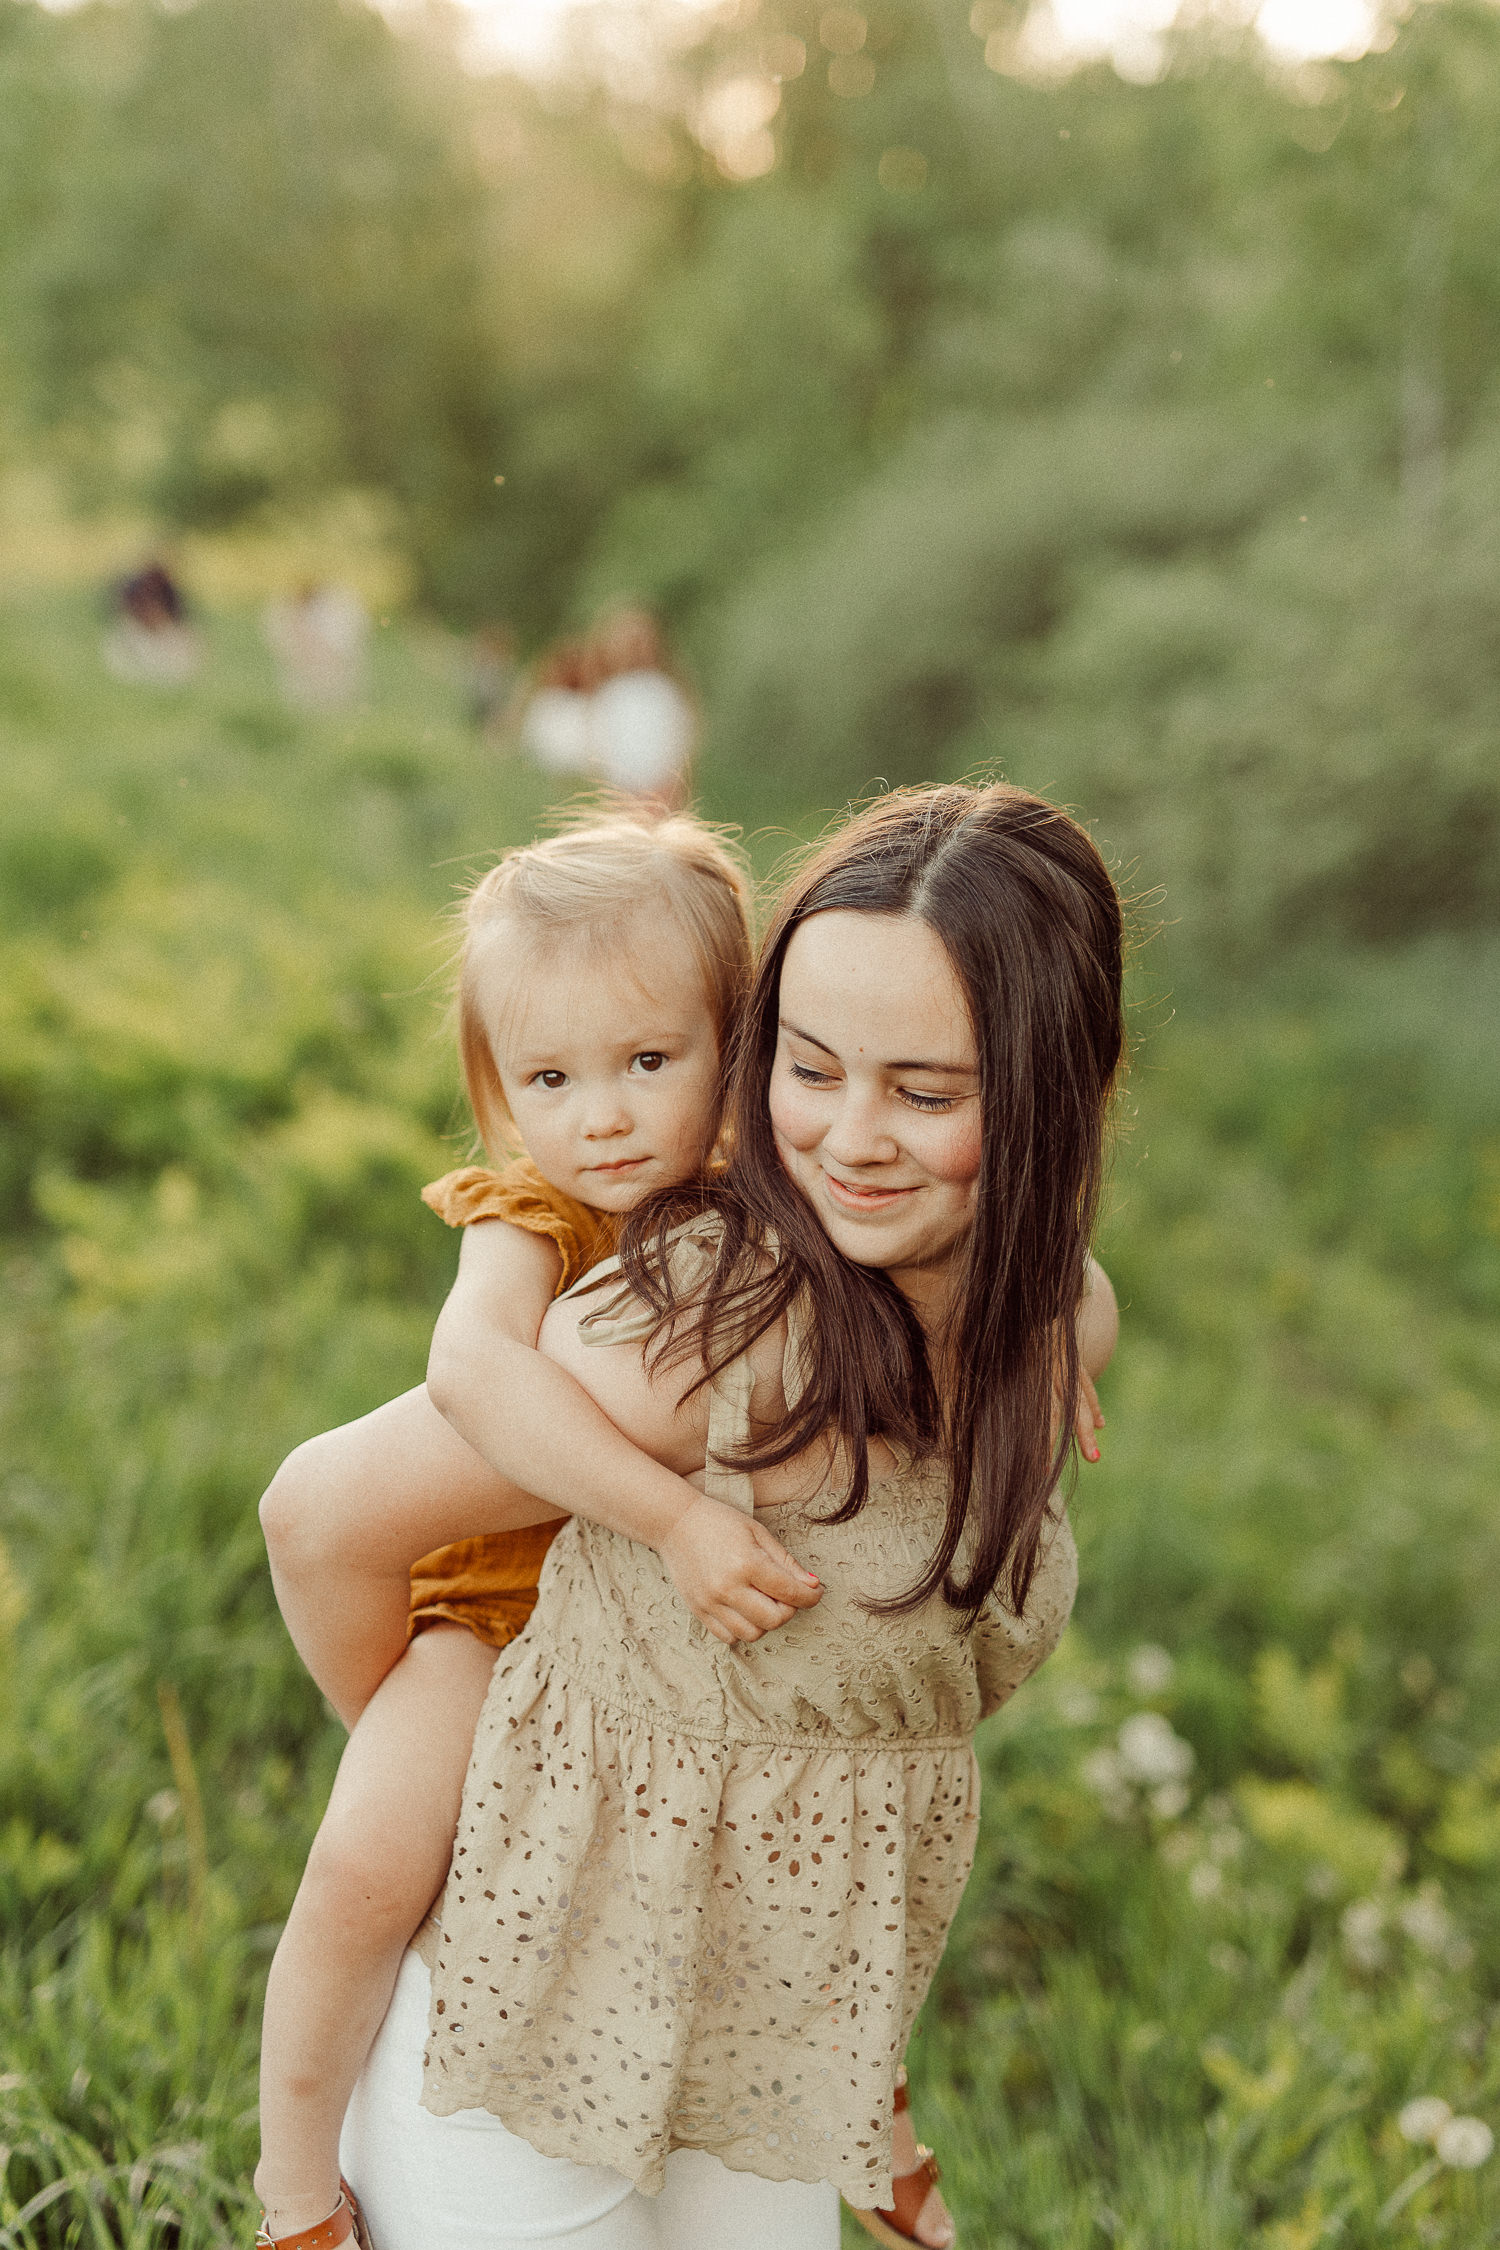
Editing is rarely just one click, even if you’re working from presets! Every image is different, especially if you are working on outdoor photos using natural light. The angle to the light, the clouds in the sky, the level of shade, color casts from different objects– many things are constantly changing just a little bit.
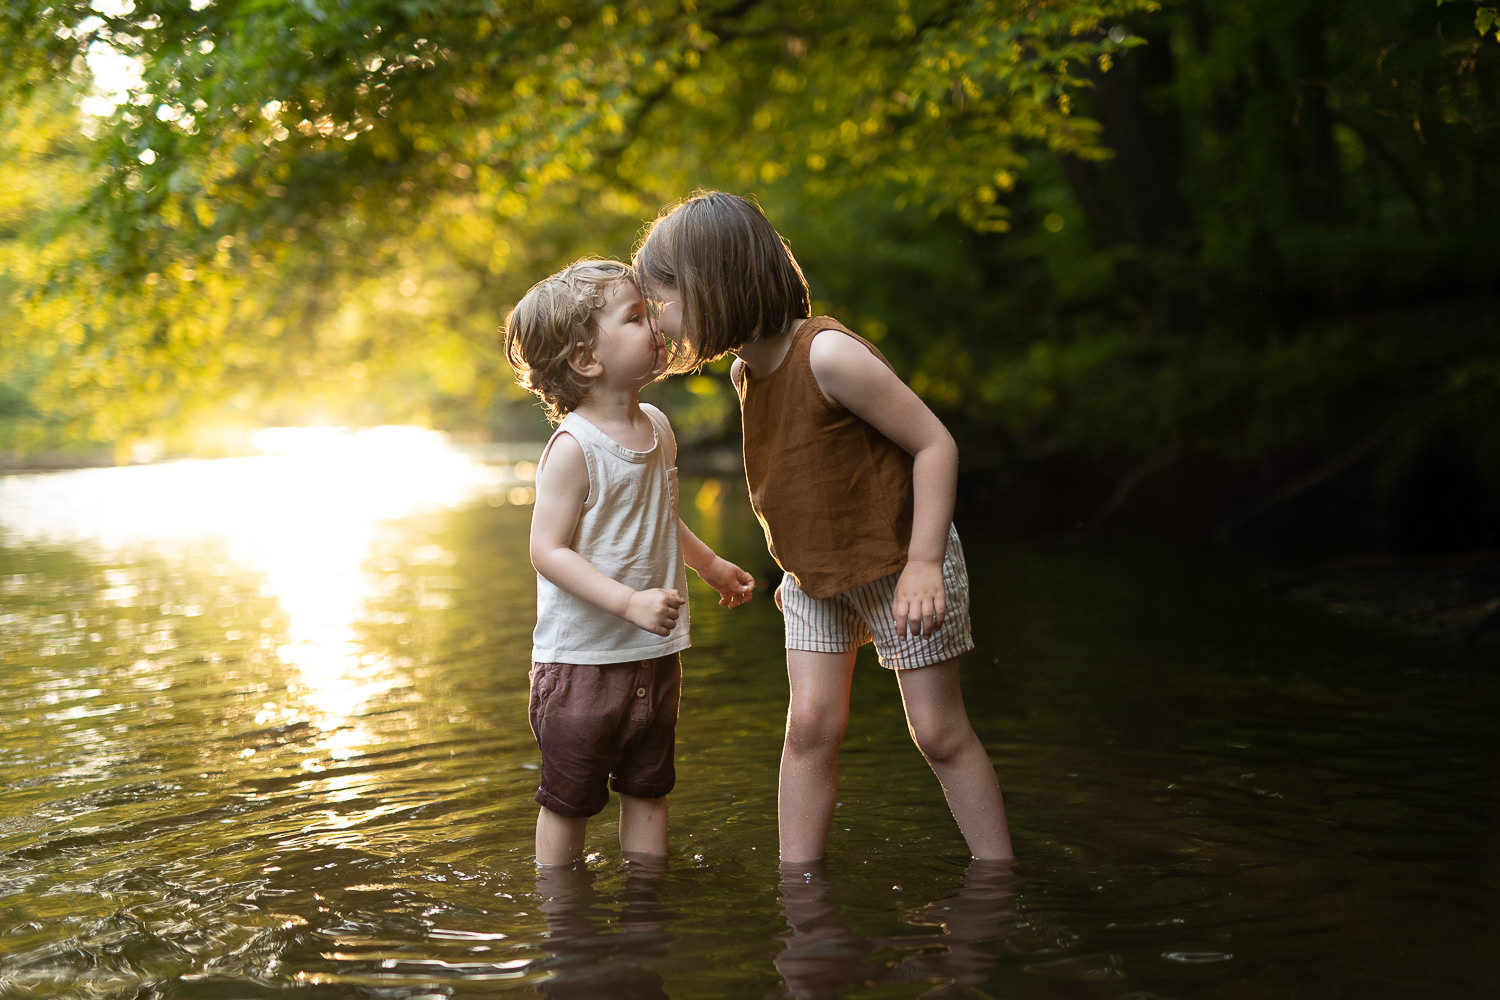
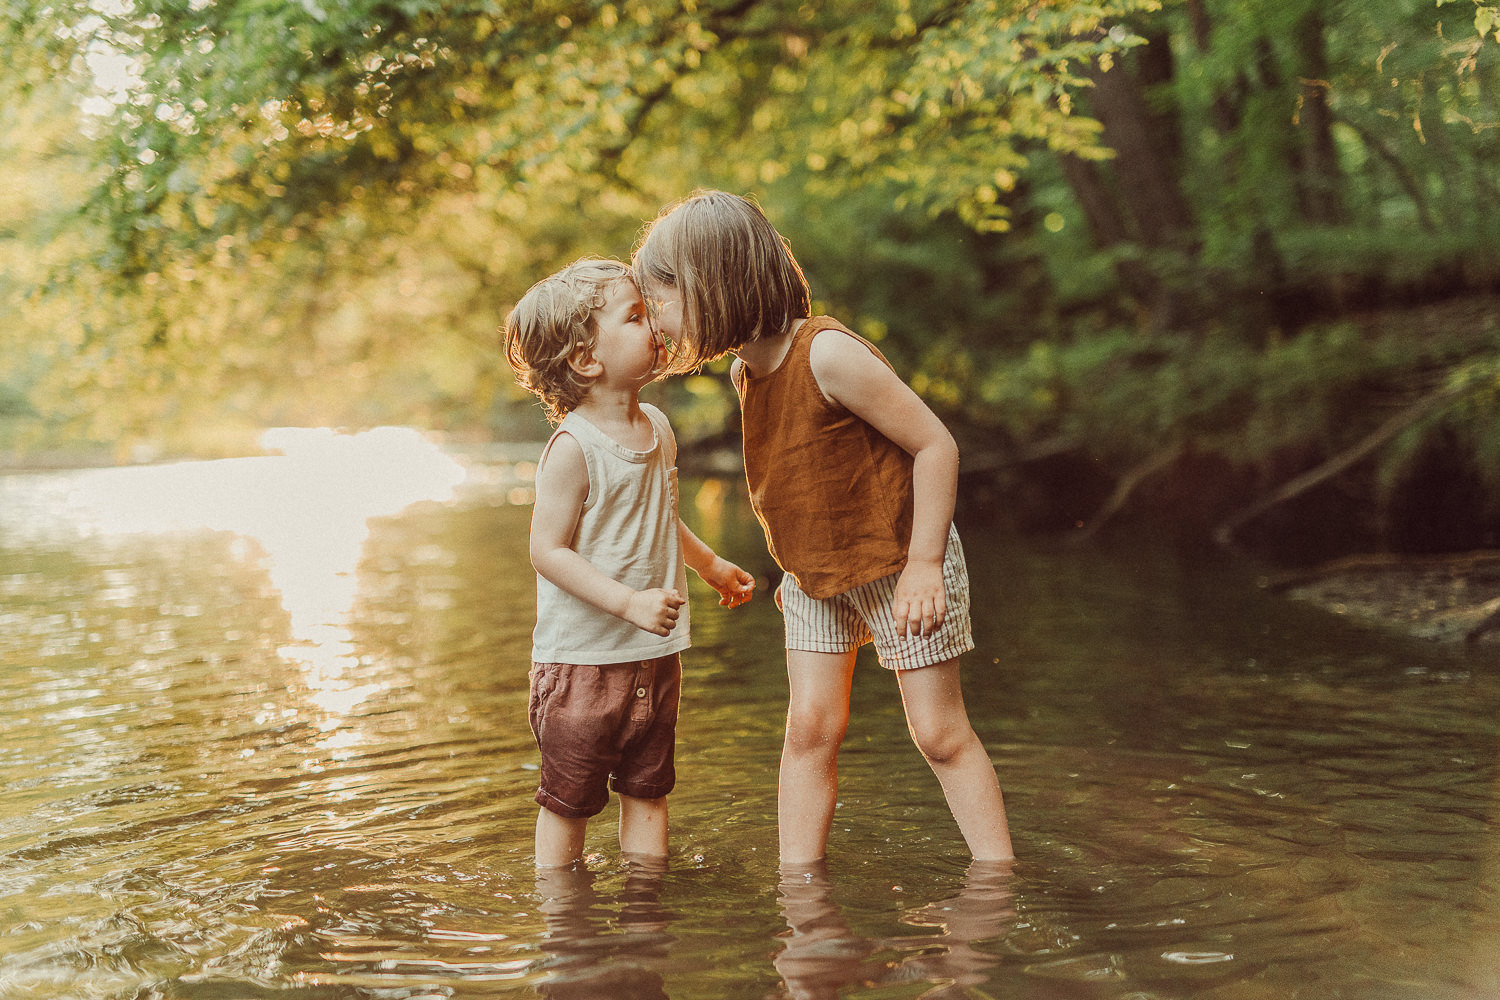
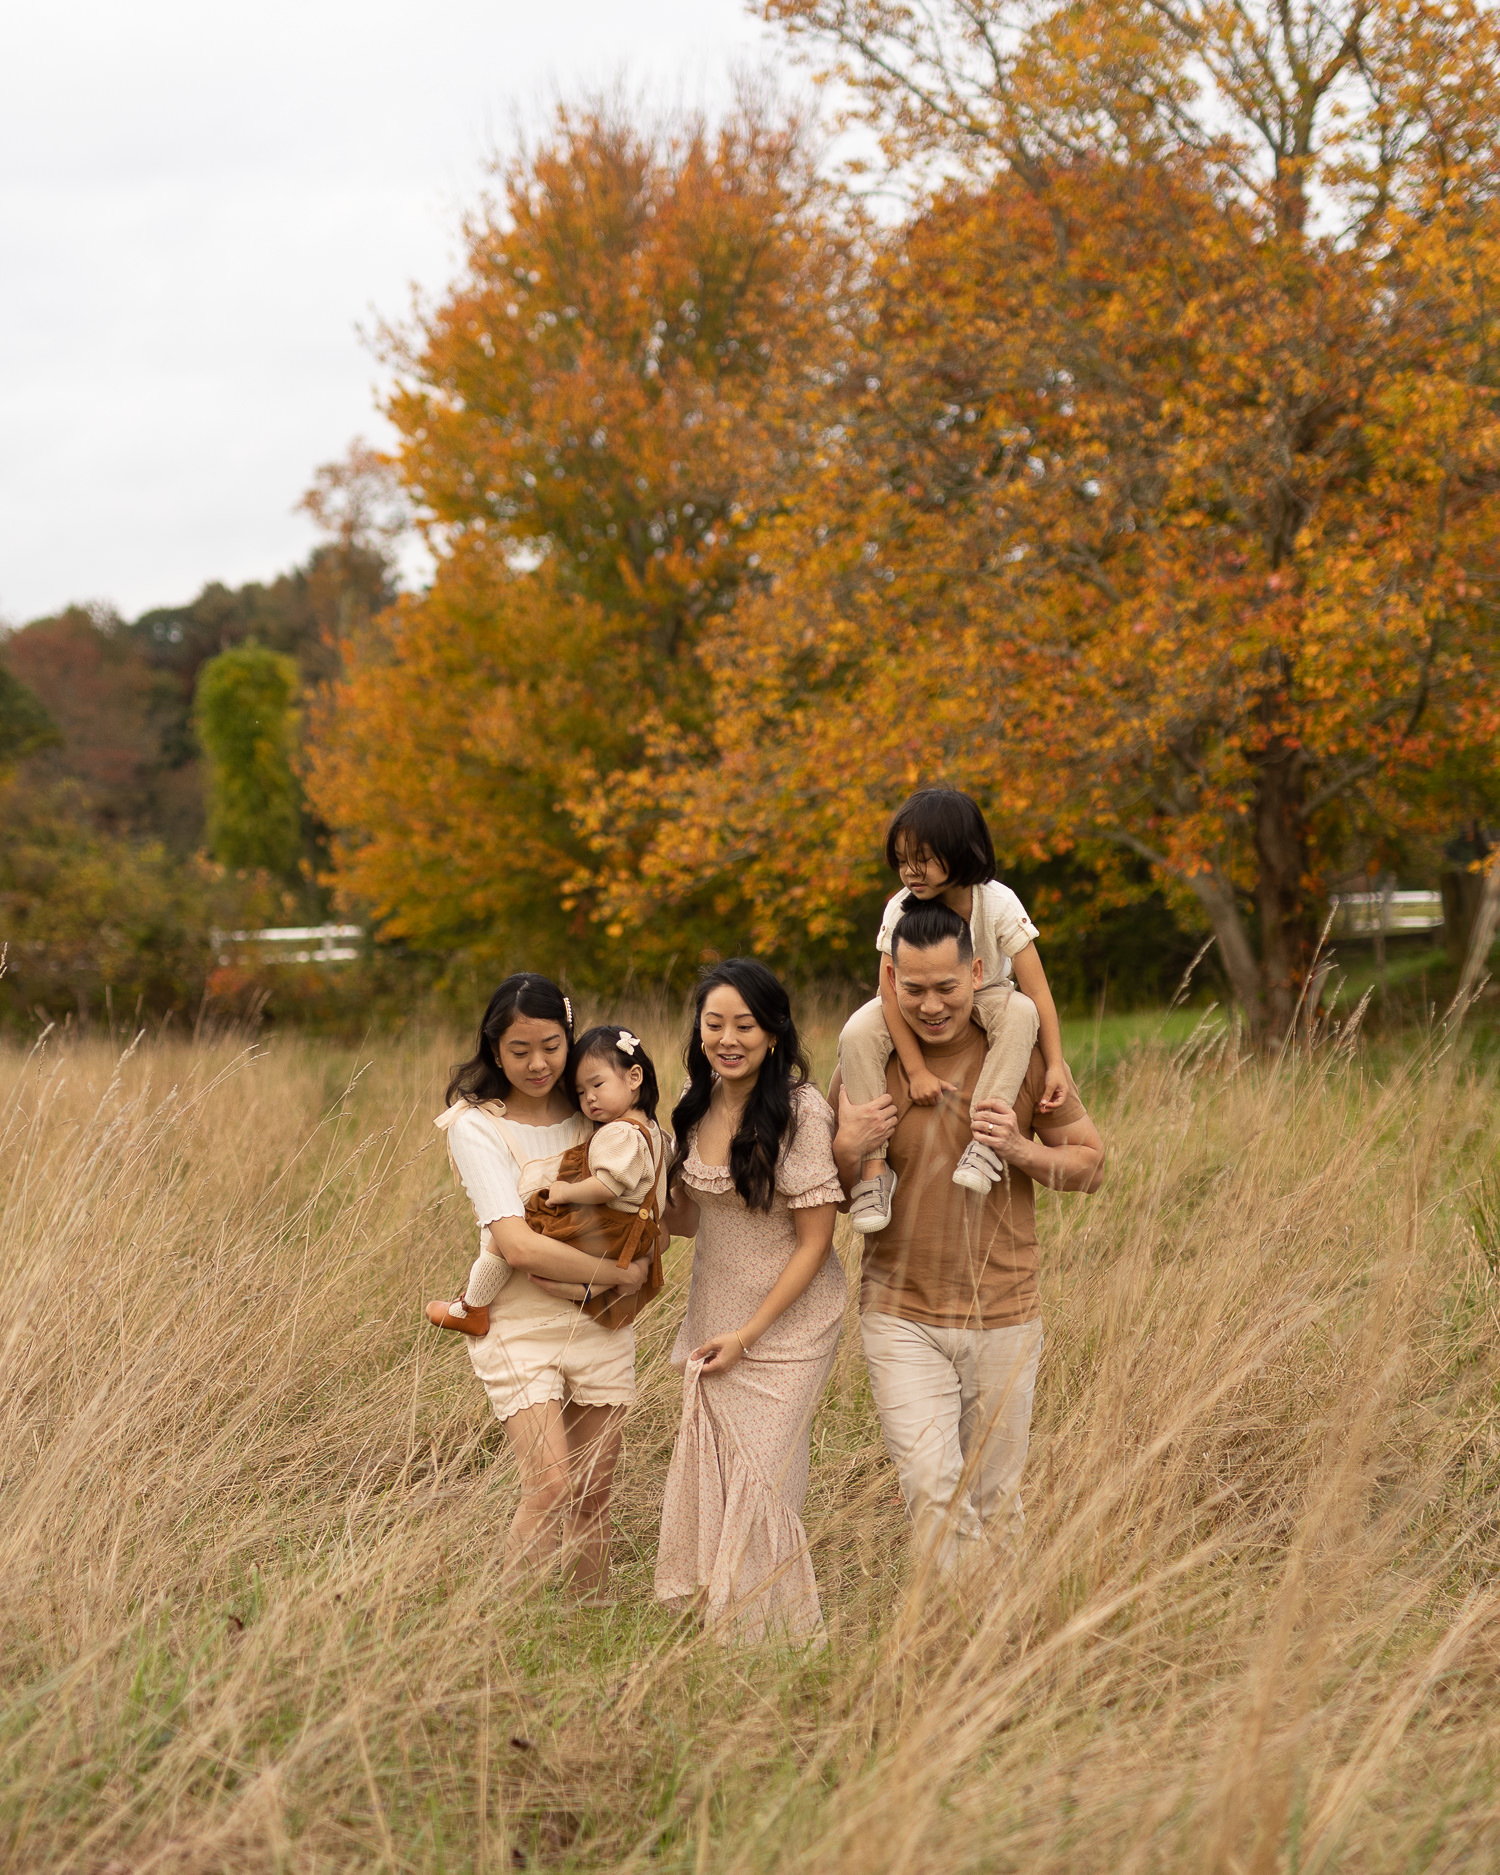
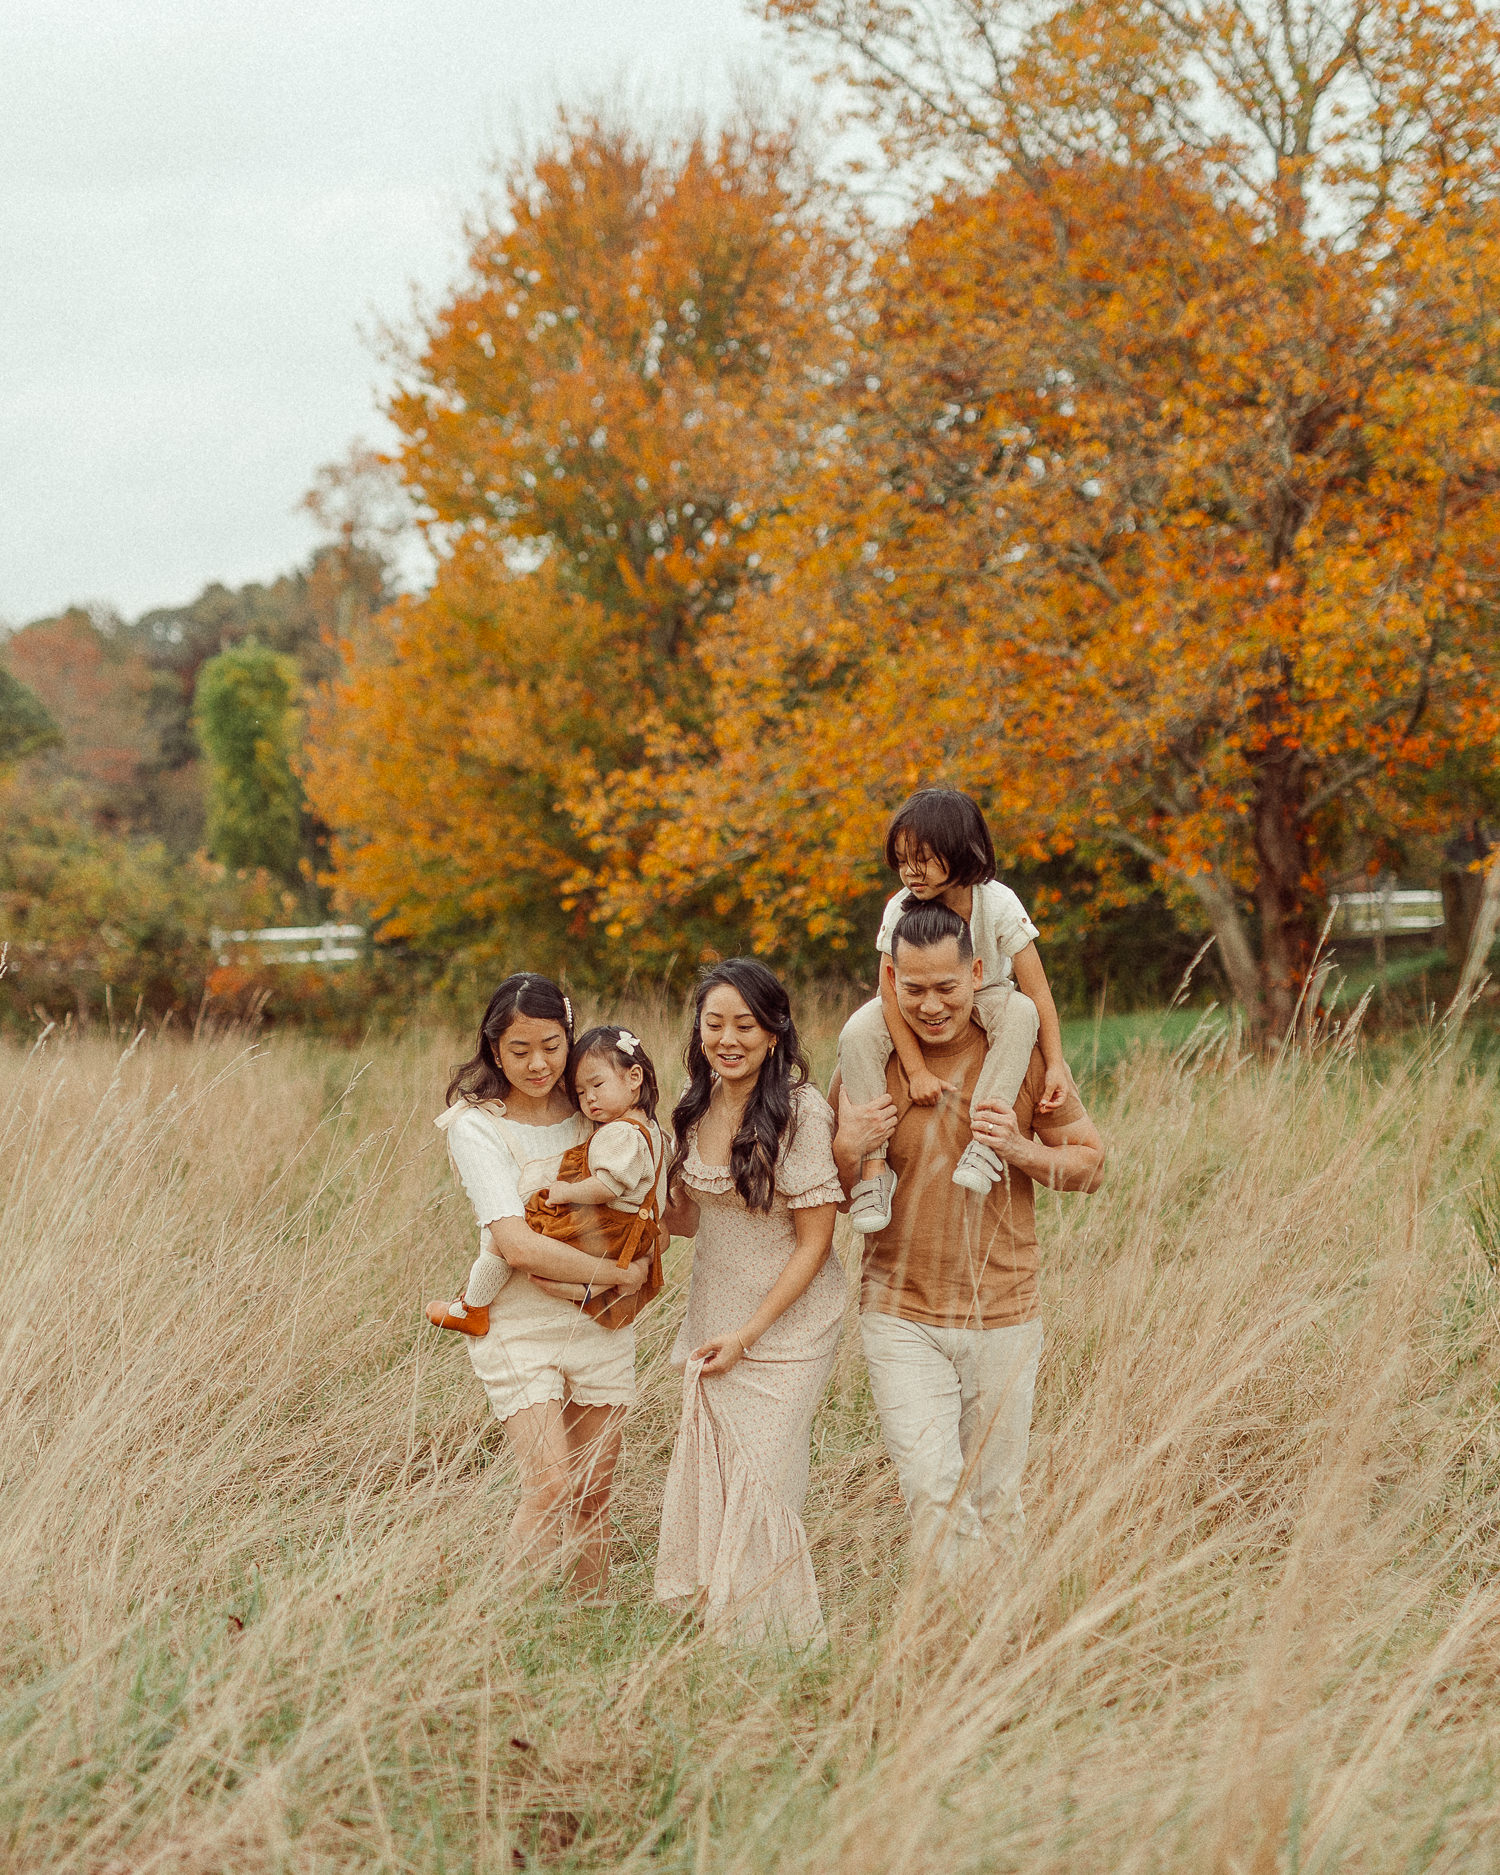
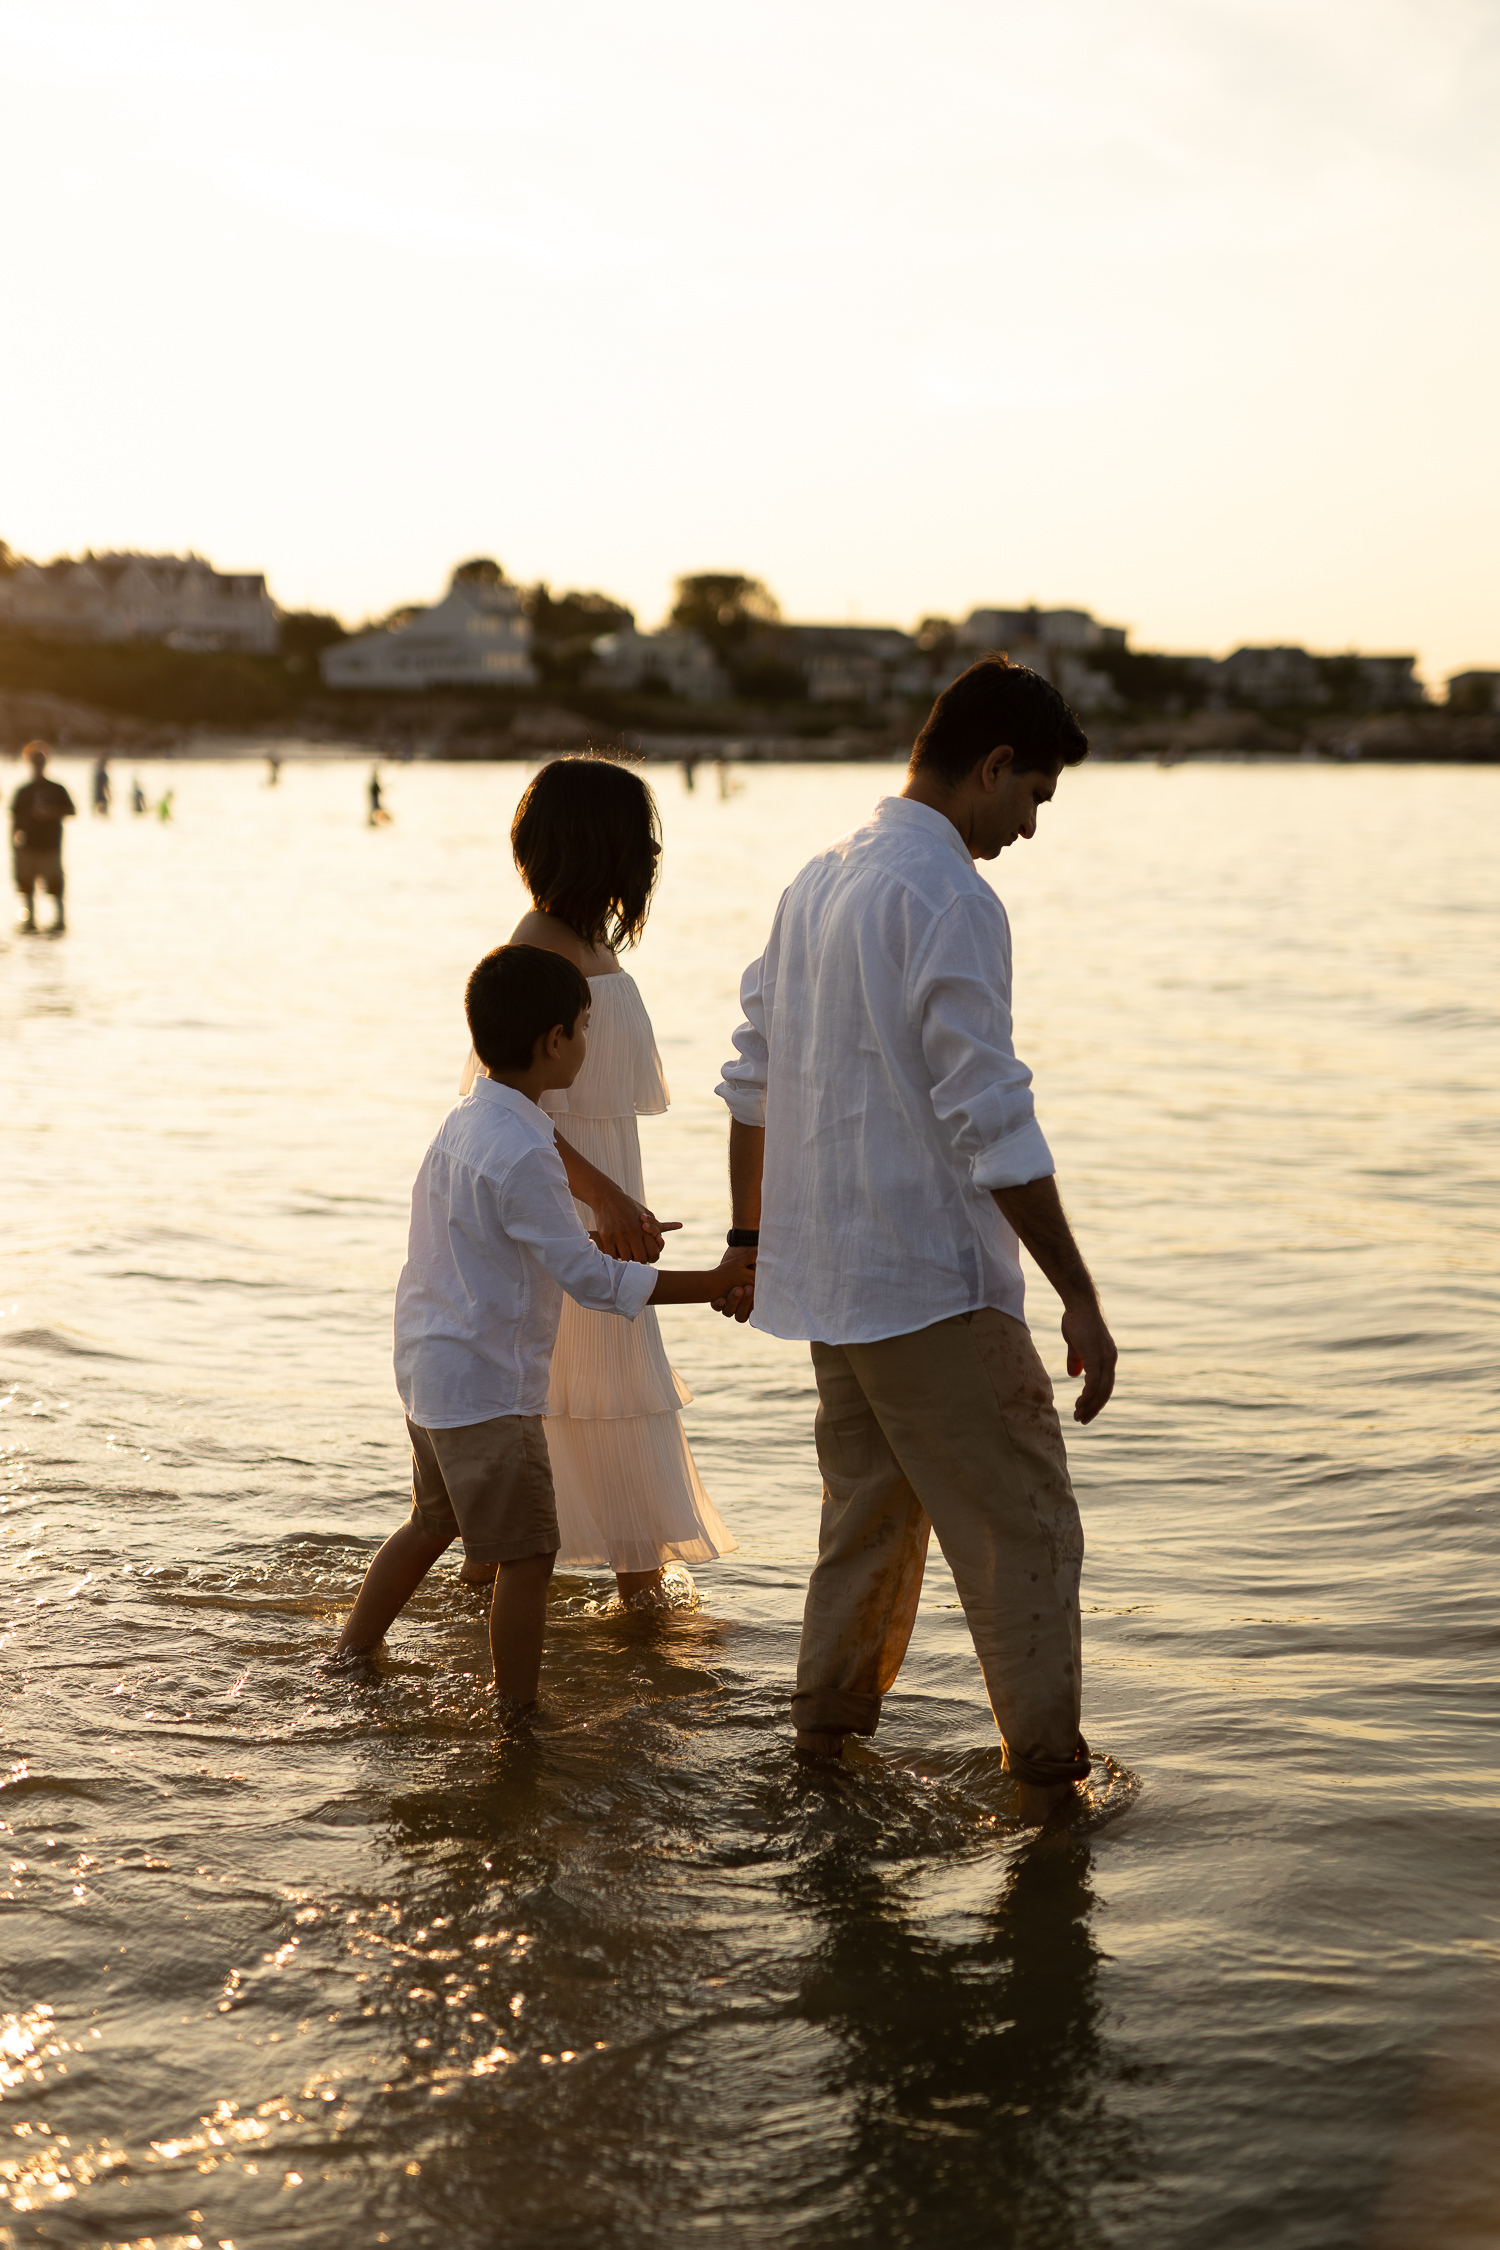
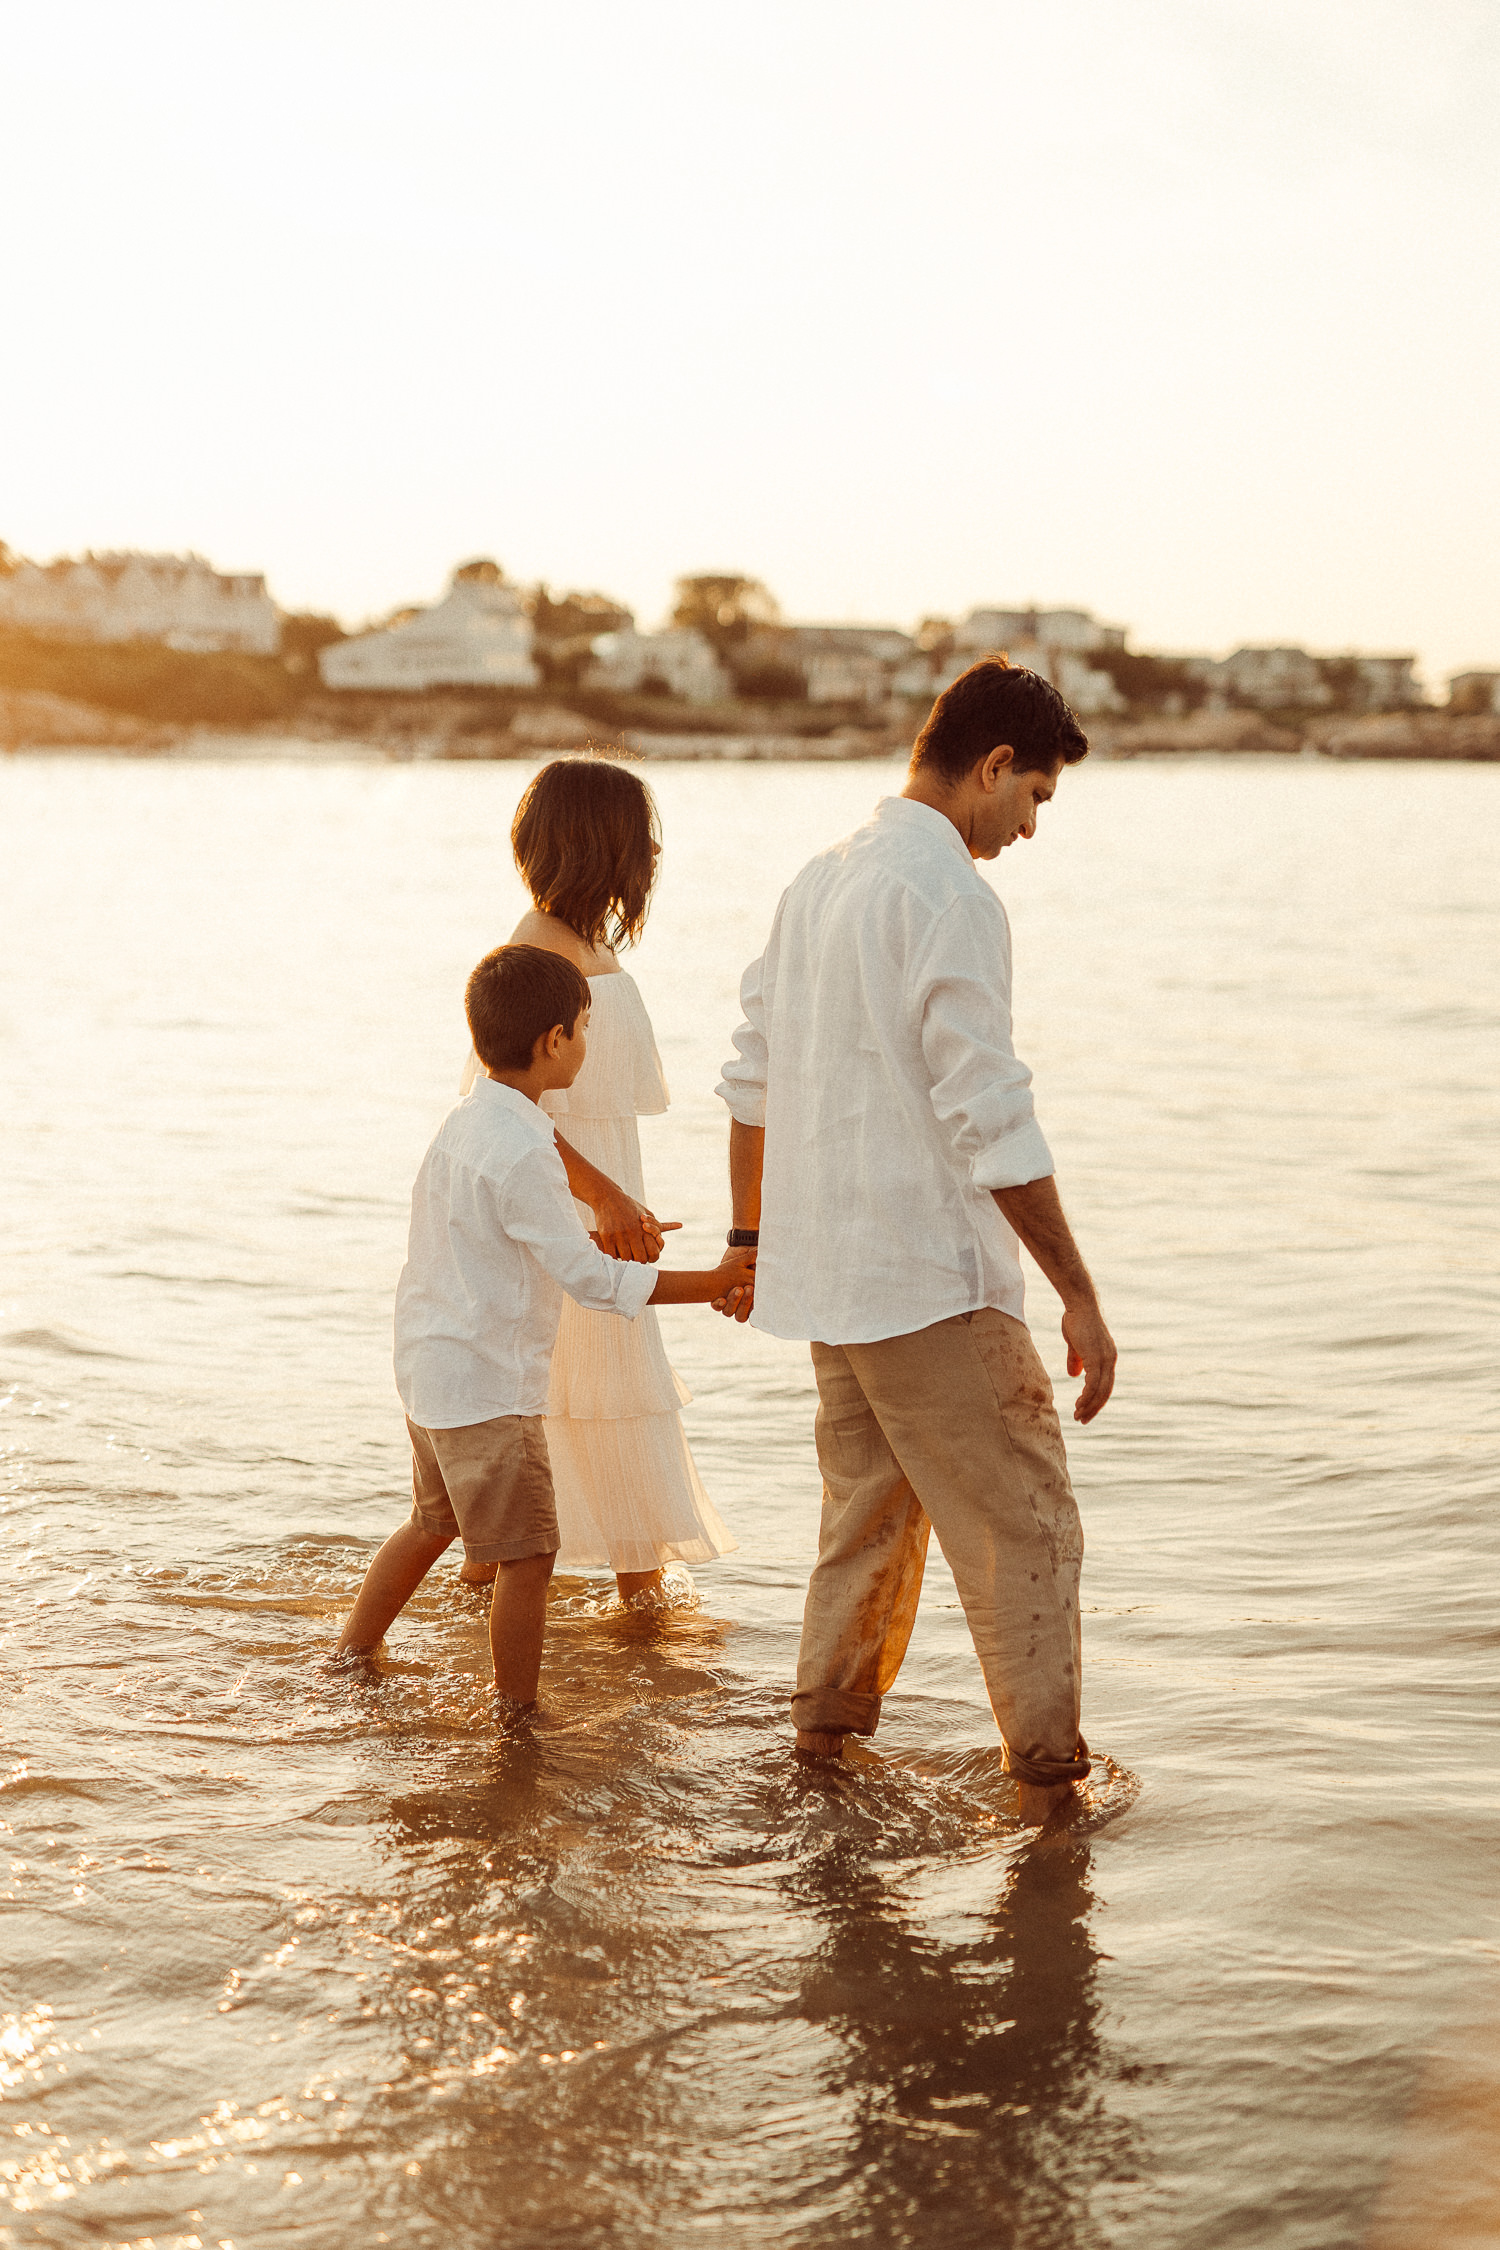
These two images were from the same session but I edited them fairly differently based on the light.
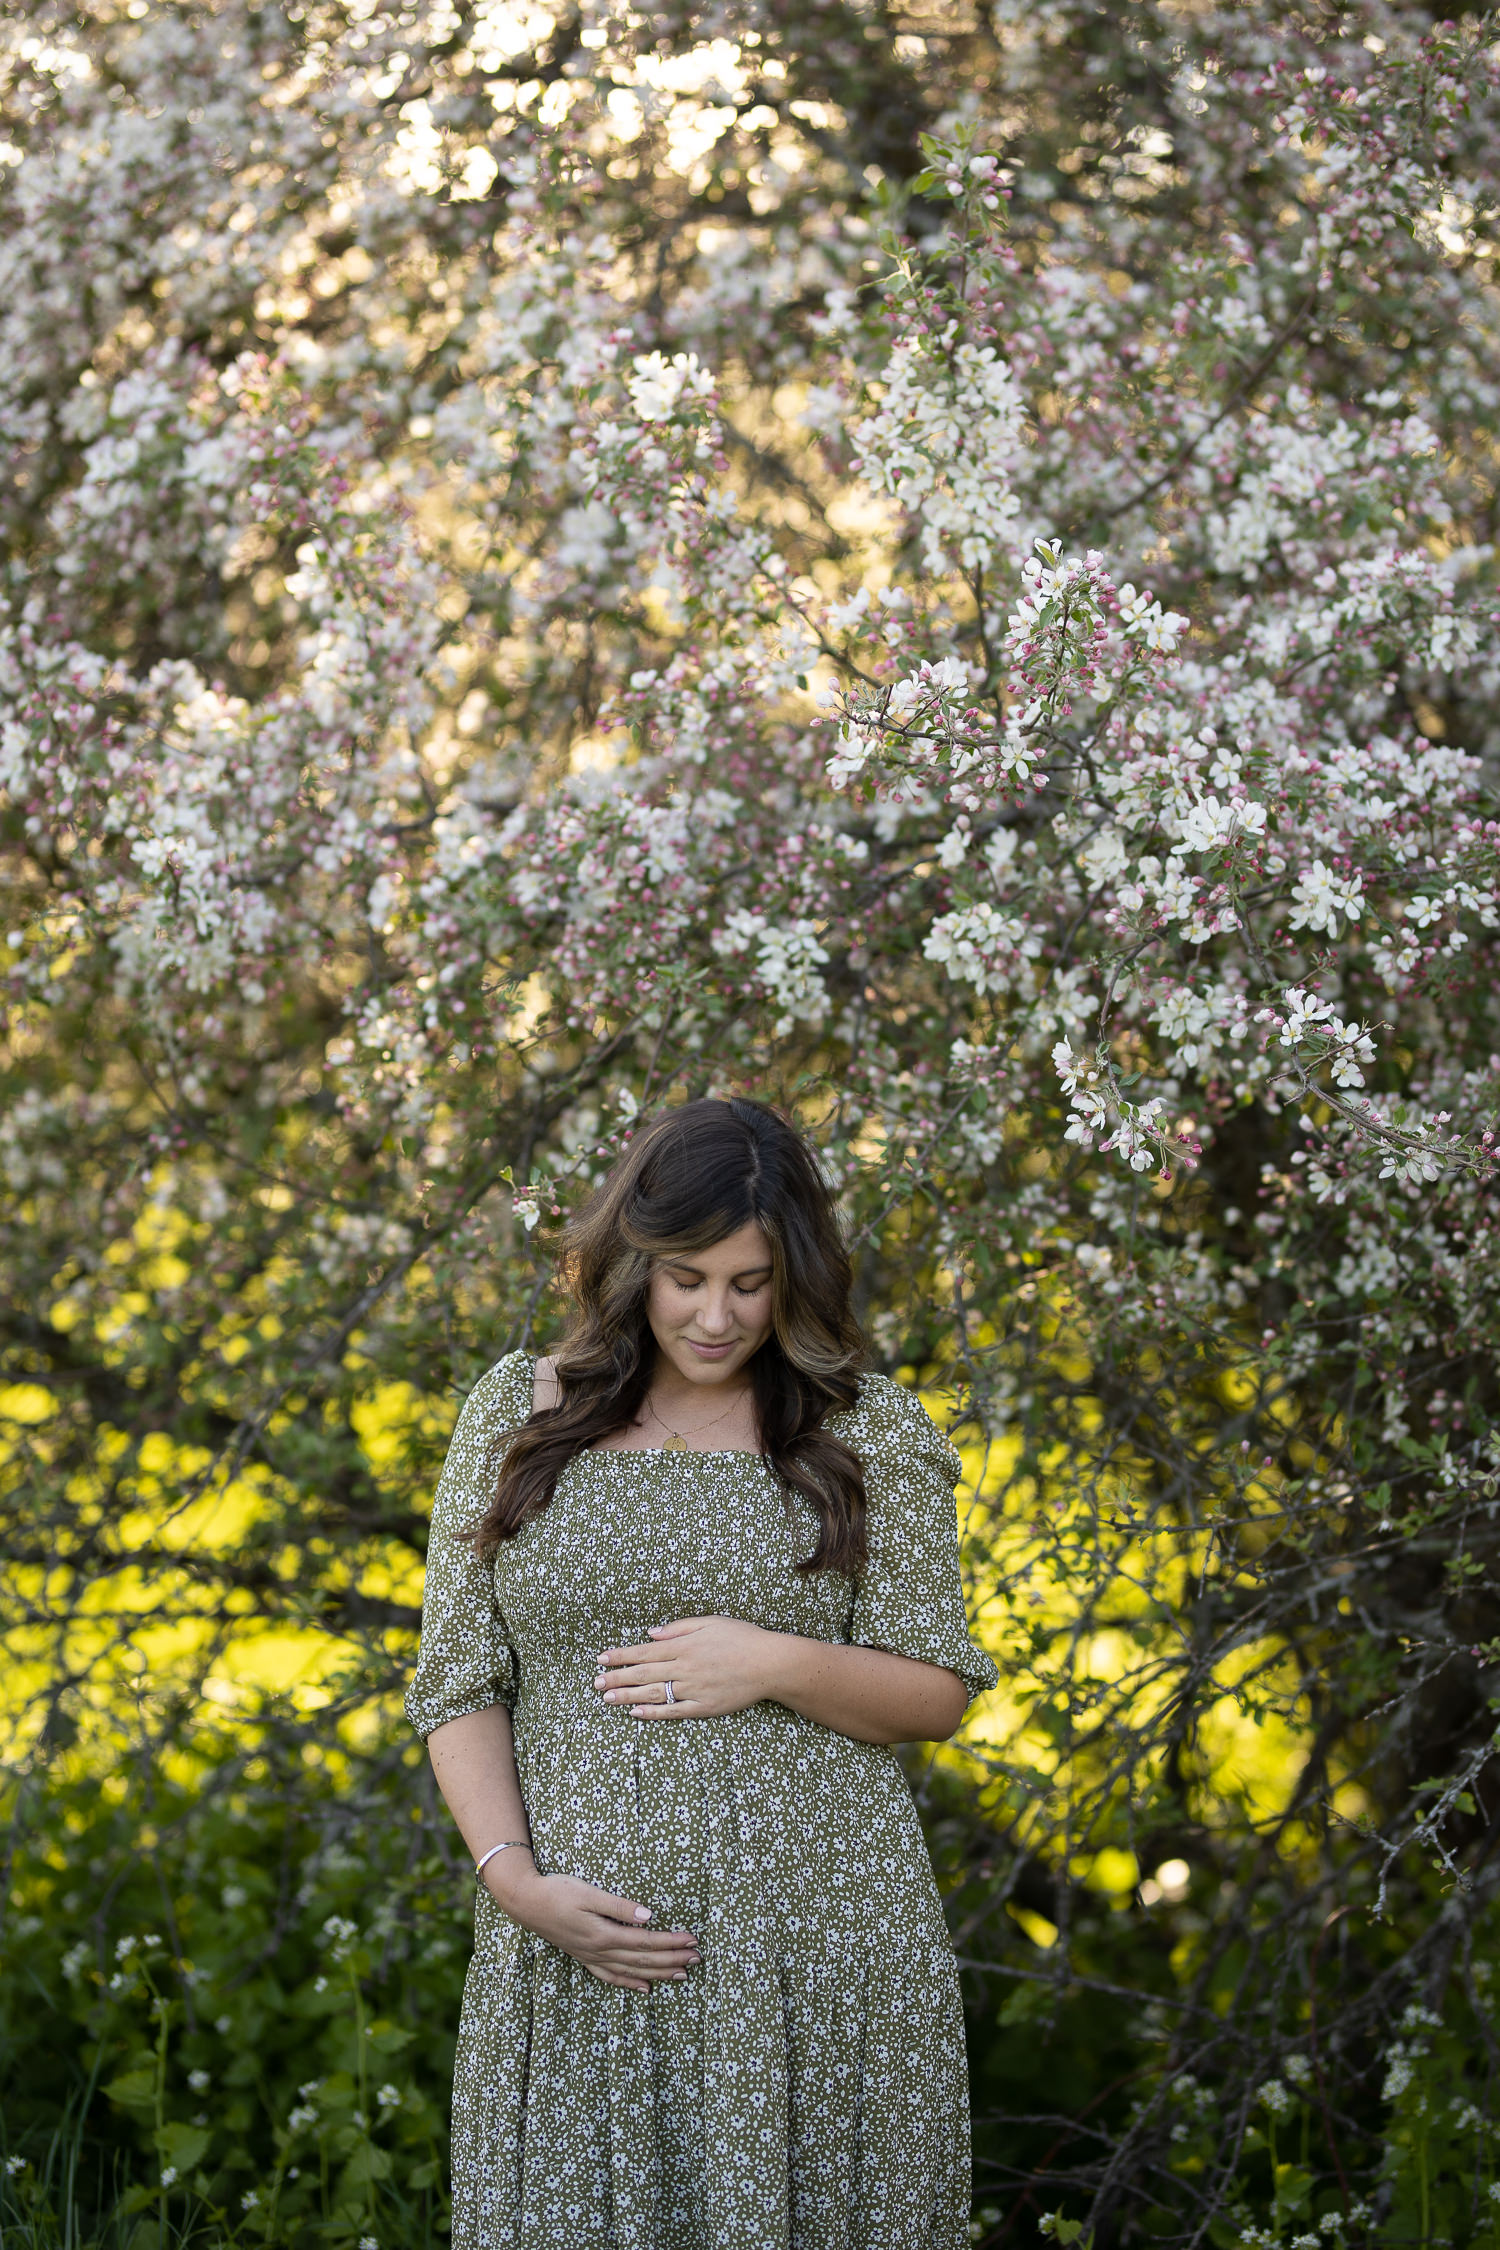

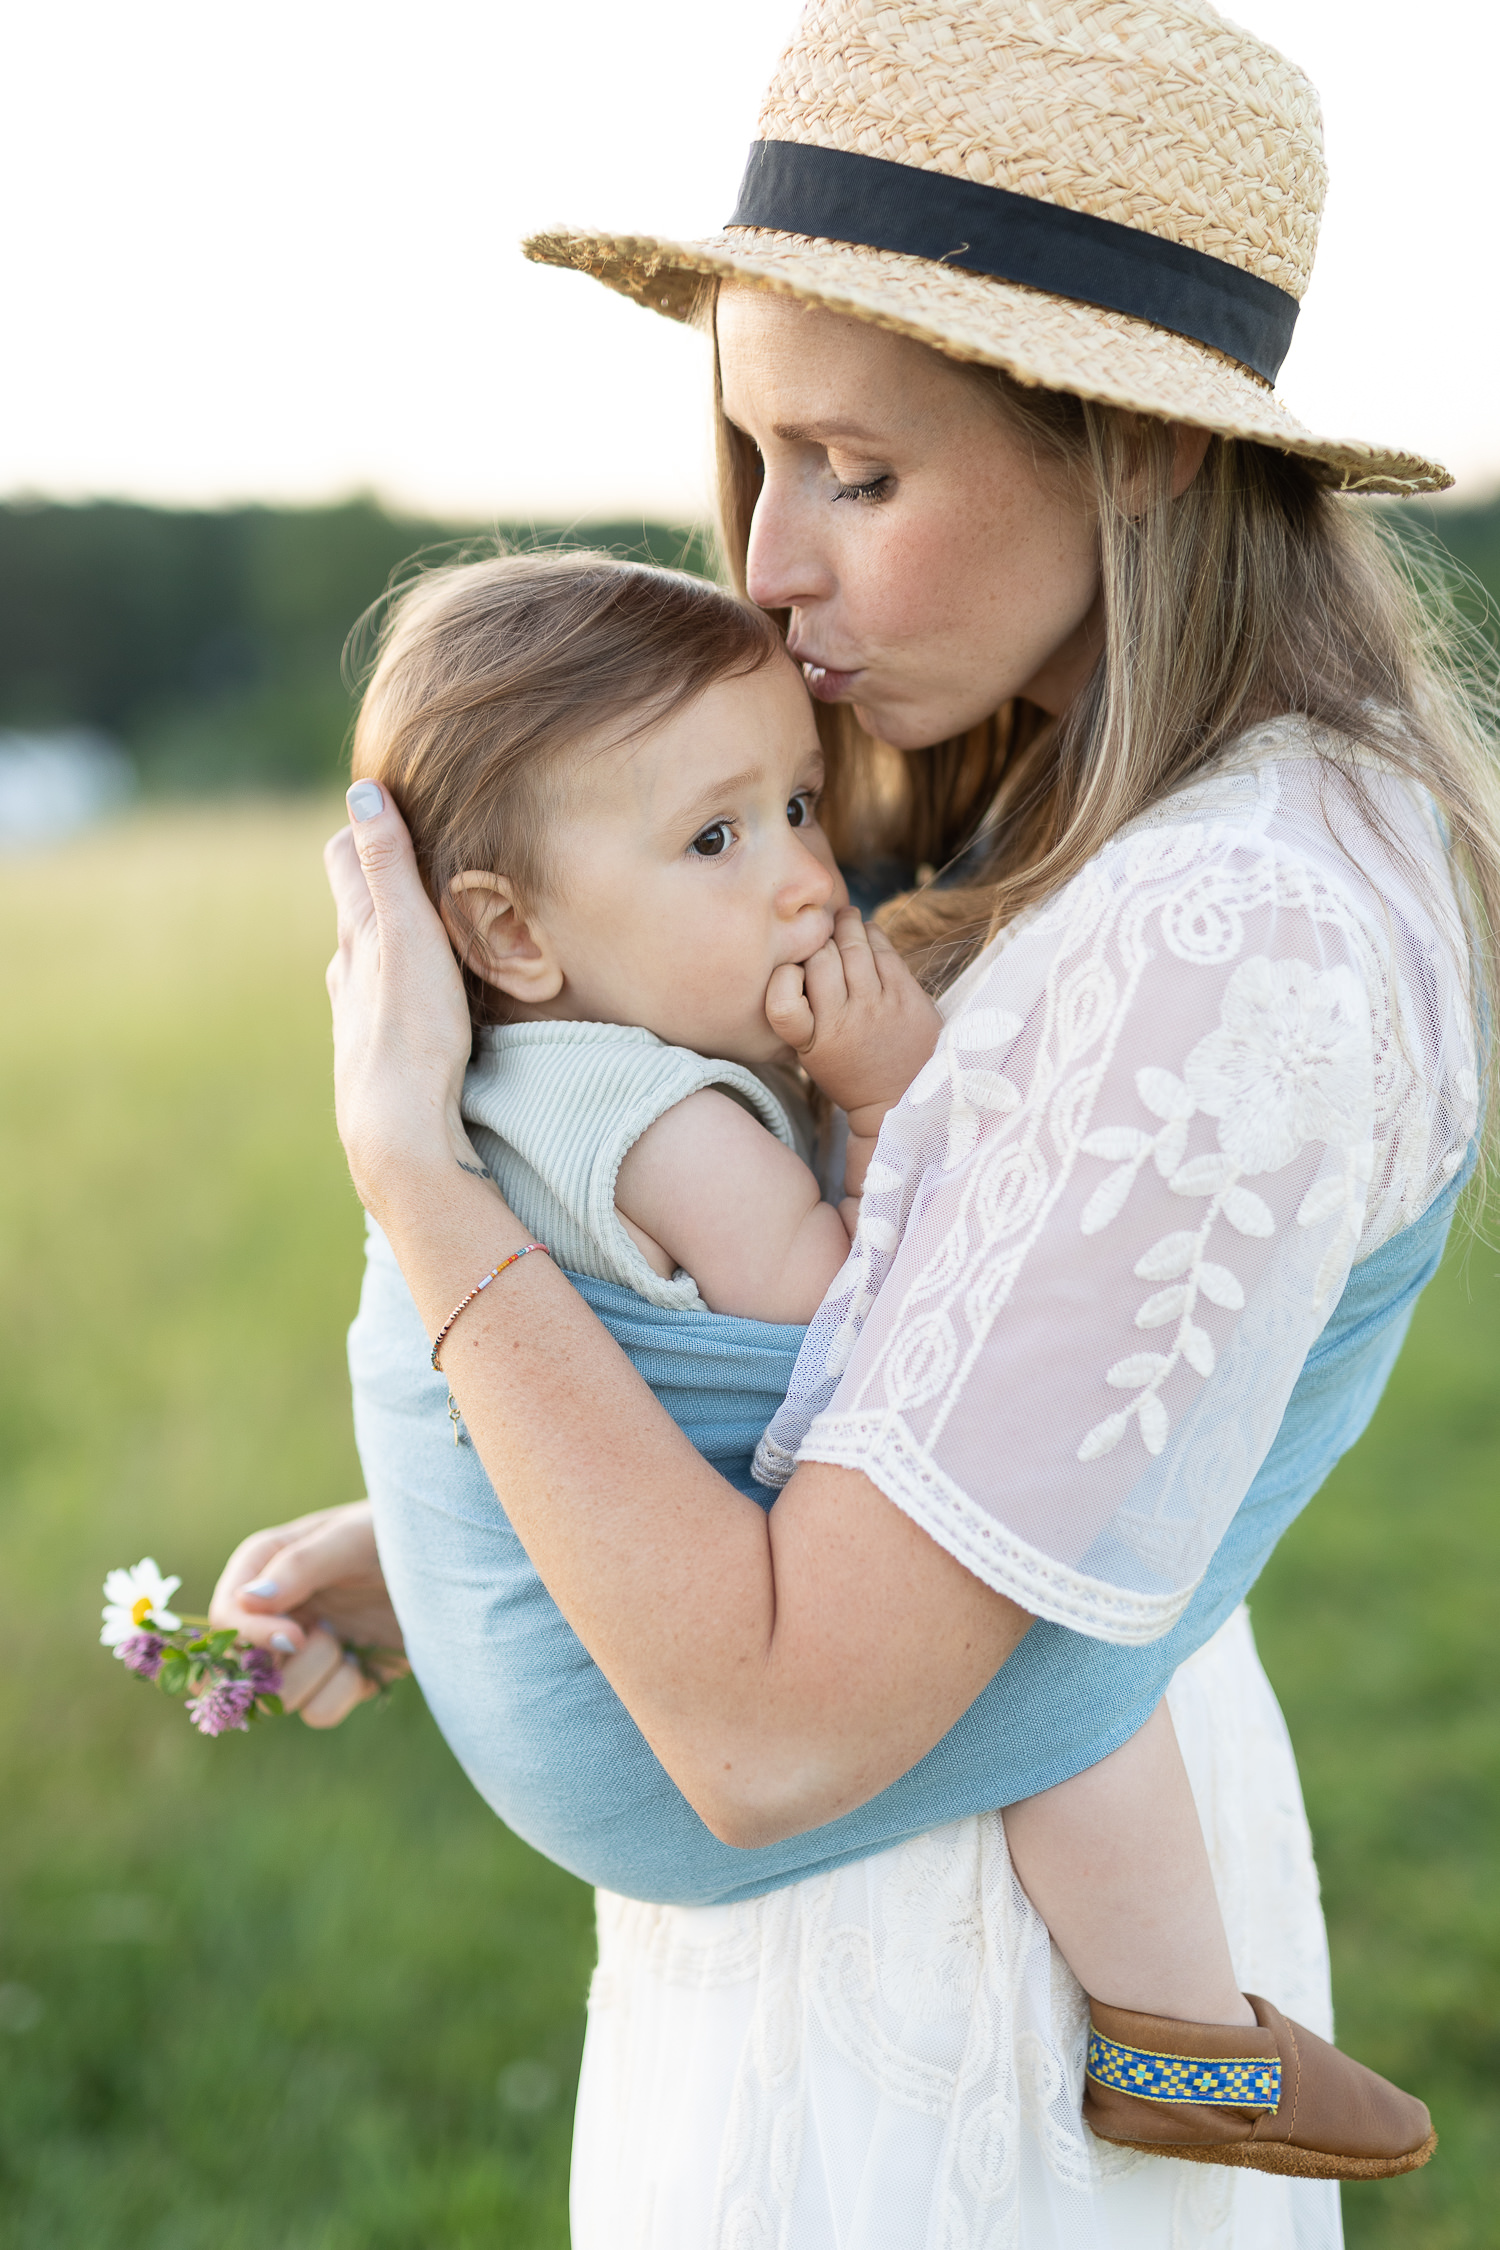
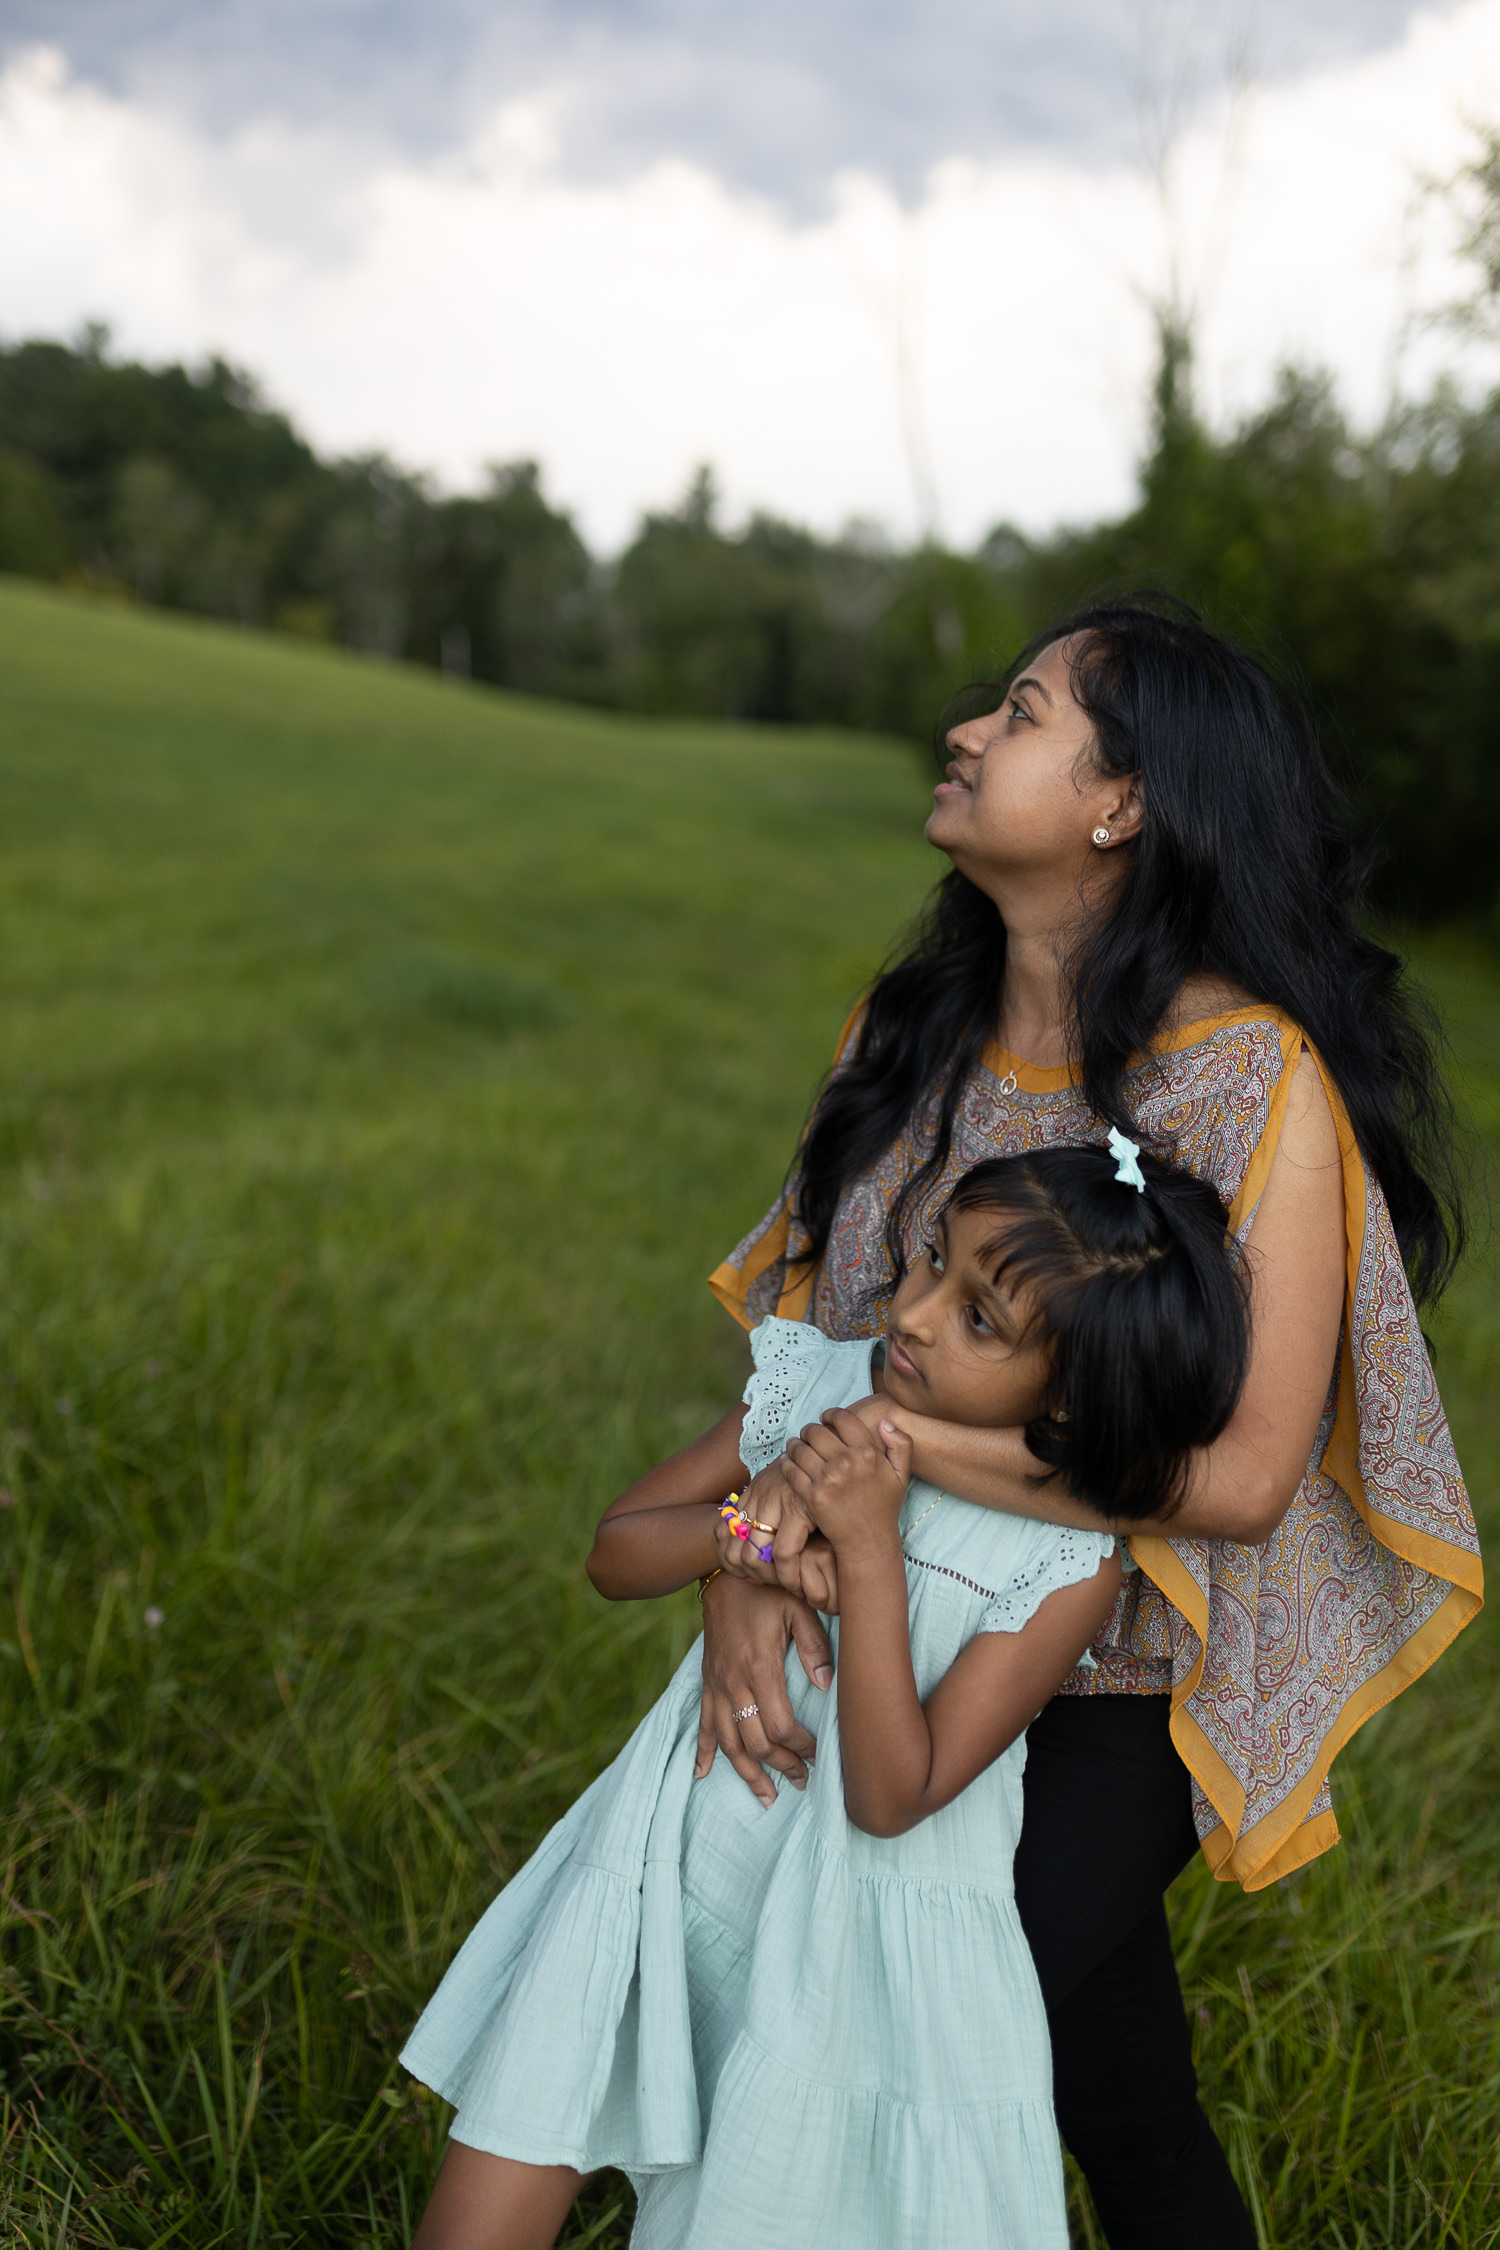
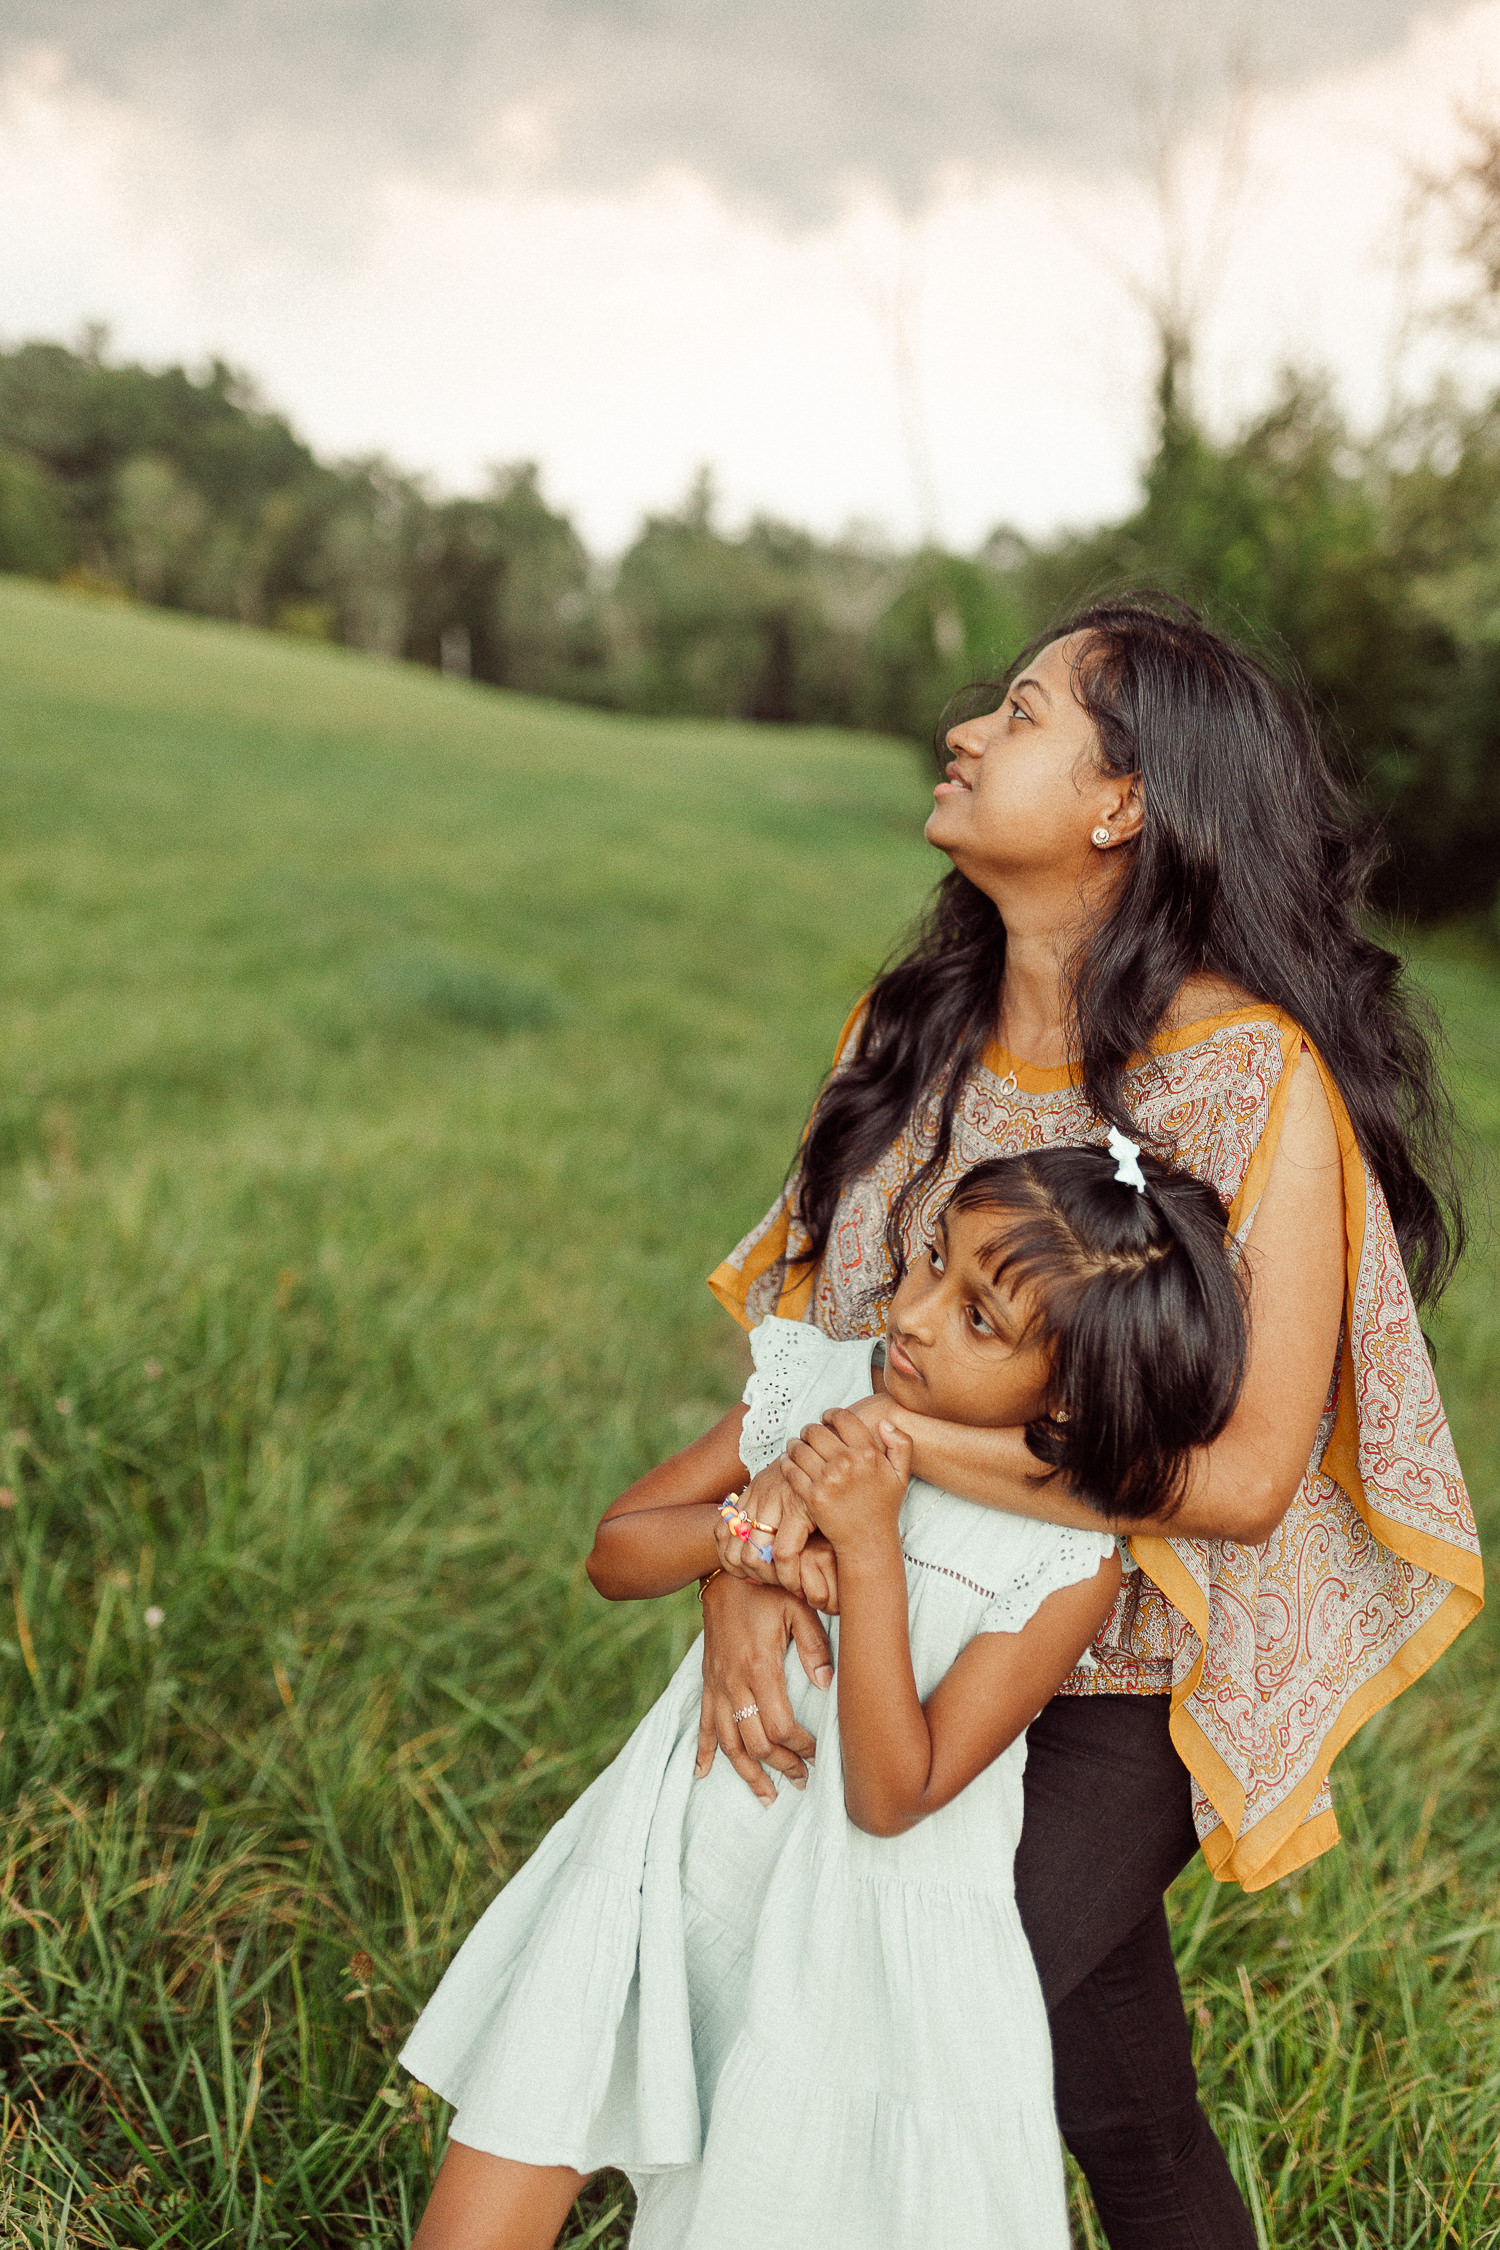
Editing Images from a Cloudy Day
My editing is a bit different for cloudy family sessions, since the lighting is different. Remembering that it’s important to start with a good quality image right off the bat, I make sure to start the session earlier than normal (so it doesn’t get dark too early) and be very aware of the direction of the light while I’m shooting.
When editing these images, rather than try to “fix” them to make it look as if the day were sunny, embrace it! Cloudy day photos can be soft, lovely, and have so much dimension and feeling. I generally keep the whites a bit higher and embrace the shadows to give it a little oomph, but no added contrast.
Photoshop
Most family session images will not need to go into Photoshop. The only time I’ll use Photoshop for a session like this is if I need to do a head swap or remove distracting items from the background.
Getting comfortable with editing and keeping your work consistent can be a learning curve and take time to perfect, but is important to building your brand! Remember that you don’t have to make extreme changes to keep your images timeless! Get them close to perfect in camera and then add your finishing touches in Lightroom/ Photoshop/ your chosen software. Feel free to reach out to me here with any questions!